Solution
The import of a PST file that contains all the PIM data and messages is not supported.
The migration must be triggered for each folder individually.
Export your Calendars, Tasks, Notes, and Contacts from your legacy server
-
Start Outlook selecting your legacy profile
-
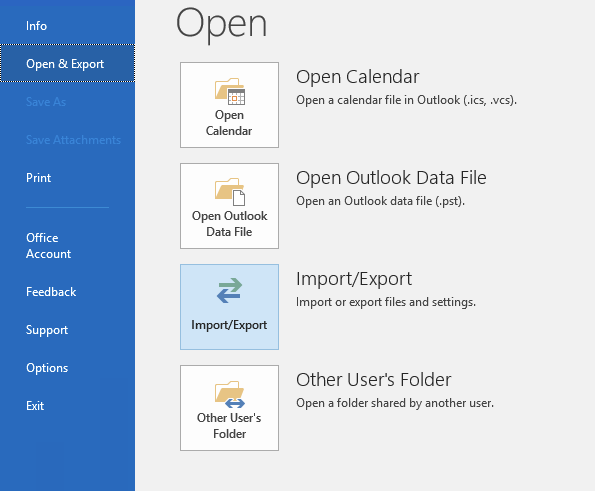
From File → Open & Export, select Import / Export
-
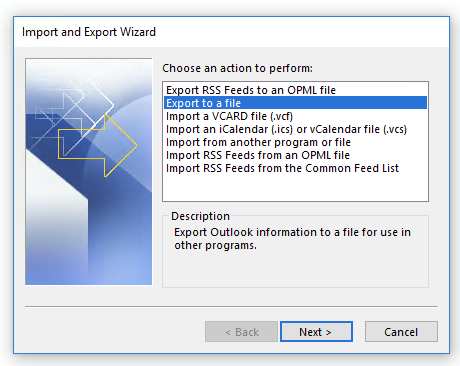
Select Export to a file and click Next
-
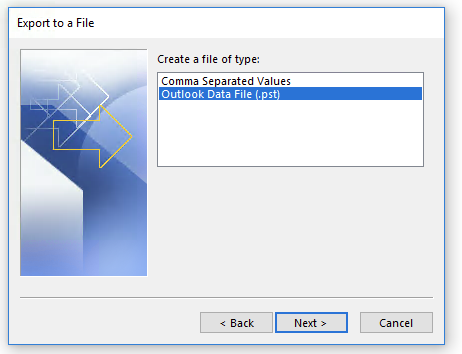
Select Outlook Data File (.pst) and click Next
-
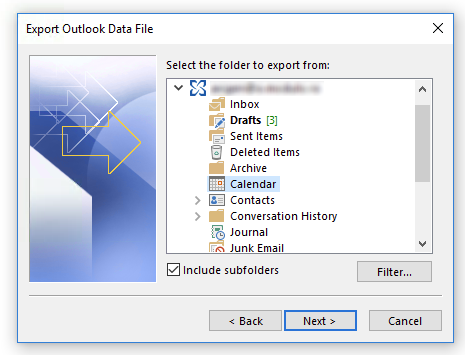
From the mailbox folders list, select Calendar and click Next (leave the option Include subfolders selected)
-
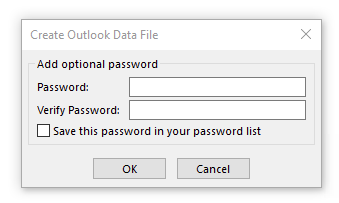
Enter the name and location of pst file that will contain the Calendars and click Finish
-
For compatibility, do not enter a password for the generated PST file; click OK
For Tasks, Notes, and Contacts, repeat steps 2-7 above, exporting each folder individually.
Import your Calendars, Tasks, Notes, and Contacts in Axigen
-
Open Outlook and select the Axigen Outlook Connector profile
-
From File → Open & Export, select Import / Export
-
Select Import from another program or file and click Next
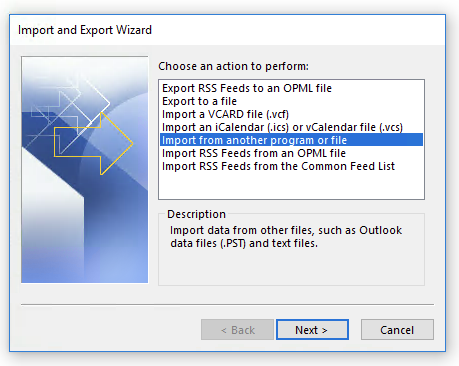
-
Select Outlook Data File (.pst) and click Next
-
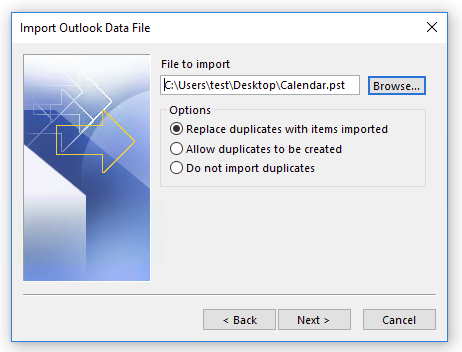
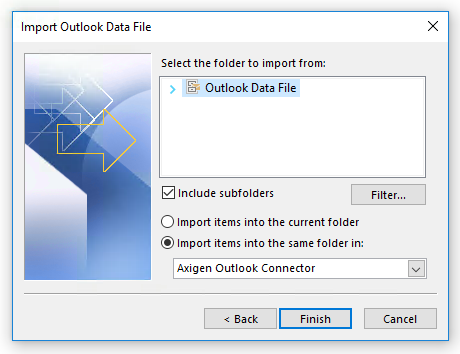
Select the PST file that will be imported

-
Select Import items into same folder in: Axigen Outlook Connector and click Finish
Repeat the steps above for each file you have previously exported.