- Introduction
- Supported Web Browsers
- Accessing / Leaving the Mobile WebMail Interface
- Finding Your Way Through the Mobile WebMail
- Working with Messages
- Managing Folder Permissions
- Opening Other User's Folders
The Mobile WebMail interface enables users to access their email account from mobile devices with Internet access to check their emails, compose / delete messages, set permissions on folders, manage contacts and much more.
The following sub-sections will present how to do all the above when accessing your account via the Mobile Webmail interface.
Introduction
When accessing the Mobile WebMail interface through a browser, users can:
-
read / compose / delete messages;
-
view the content of their "Inbox" and other folders;
-
download attachments;
-
move / copy messages to another folder;
-
perform searches and set permissions on folders;
-
manage contacts.
Supported Web Browsers
The Mobile Webmail interface is accessible from the following browsers:
-
Android
-
Android 4.4+ default browser
-
Google Chrome 44+
-
-
iOS
-
iOS 7.x+ Safari
-
Google Chrome 44+
-
When the Mobile WebMail is enabled, Axigen performs automatic device detection and serves this interface for detected mobile phones.
Accessing / Leaving the Mobile WebMail Interface
Login
To connect to the Mobile WebMail interface, enter (in your mobile phone browser) the URL or IP:port combination where your Axigen WebMail service is running. In the displayed window, enter your account username and password and select the "Login" button.
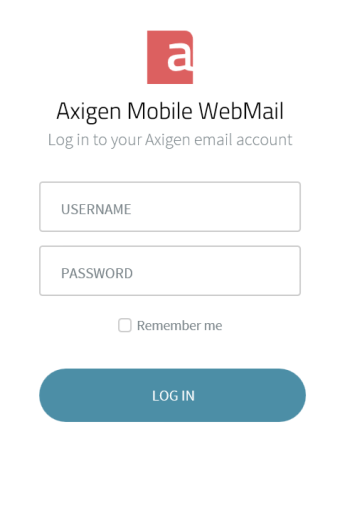
Check the "Remember username" option so you won't lose time typing it each time you want to login.
If your mobile browser loads the Standard WebMail instead of the Mobile Webmail, you can also add "/m" (without the quotes), to the URL you typed to access the WebMail login page. For example, "http://192.168.0.10/m" or "http://webmail.yourdomain.tld/m" will allow you to open the Mobile Webmail interface in any browser. The "192.168.0.10" IP or the "webmail.yourdomain.tld" host name must be replaced with your own Axigen Webmail service IP / host name.
Logout
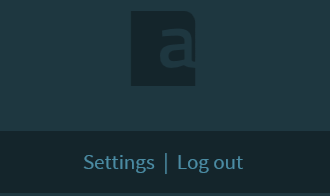
To close the current WebMail session, click the "Logout" link at the bottom of the Folder Tree.
Finding Your Way Through the Mobile WebMail
Main View
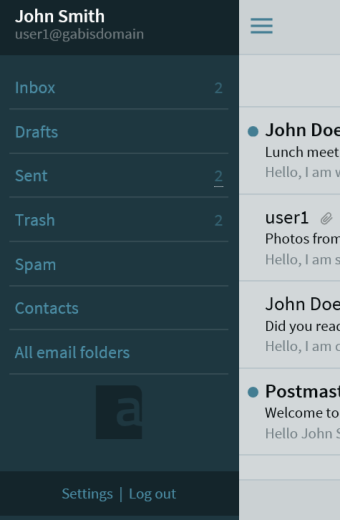
When accessing your account by using the Mobile WebMail, the "Inbox" folder is displayed by default, as you can also see in the screenshot below.
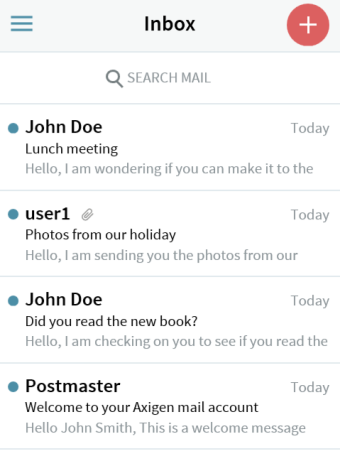
The messages are grouped and ordered by the date they were received. Each section corresponds to a date and contains all the messages in the current folder that were received in that day:
-
"Today" – for messages from the current date;
-
"Yesterday" – for messages from the current date minus one day;
-
"DD MMM" - for messages from the current year (for example 21 Jan);
-
"DD/MM/YYYY" - for messages from previous years (for example 24/Dec/2005);
Below the list of messages in the current folder, you have a list of the most commonly used folders, accessible in the Mobile Webmail interface:
-
"Inbox";
-
"Drafts";
-
"Sent";
-
"Trash";
-
"Spam";
-
"Contacts";
-
"Archive";
-
"Filtered Email";
The folder tree helps you browse and manage the emails in your account. You can copy or move messages in between folders, change the currently displayed folder and manage permissions.
Special-type folders (calendar, tasks, notes) are not accessible from the mobile interface.
Navigation through emails is also possible with the "Next" / "Previous" navigation links.
To access an email message, simply select the desired message subject link and access it. You will be presented with the message view page.

To write a new email, use the "Compose" link found in the top-right section of the page.
Viewing All Email Folders
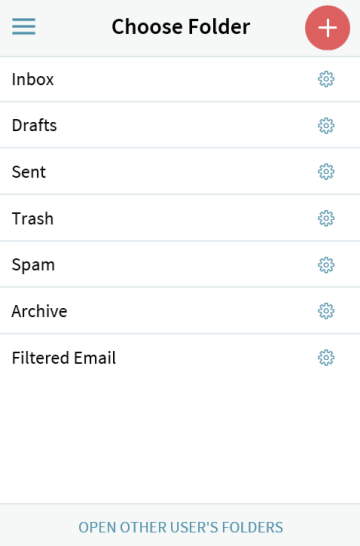
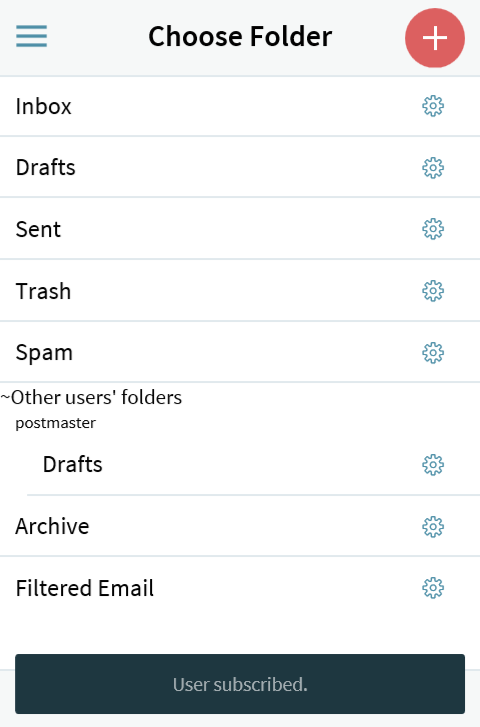
Accessing the "All email folders" link will open a page that displays all your personal email folders and any other user's folders that you may have previously opened. Below your default personal email folders you will find, in the folder tree, the "Other users' folders" entry.

The "Other user's folders" entry will only appear if you have previously opened another user's shared folders.
Select the link corresponding to each folder name in order to view its contents. Next to each of the folder's name, you have settings icon that allows you to set sharing permissions for your folders.
In the "All email folders" page you also have, at the bottom of the page, the "Open other user's folders" link, that allows you to access email folders that have been shared (with the proper permissions for your account) by another user in your domain.
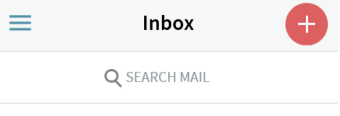
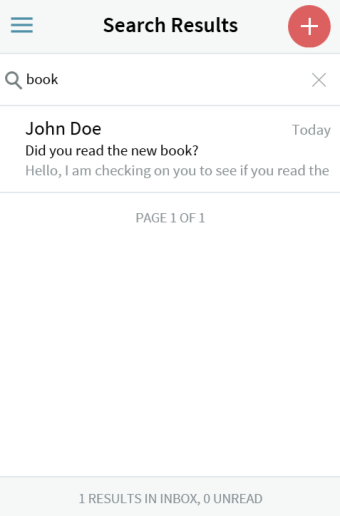
Searching Emails
To perform a quick search through the messages in the current folder, go at the top of the page, type your query in the search and touch the 'Go' button or click the search icon.
The search results will be displayed, mentioning the folder and the search criteria.
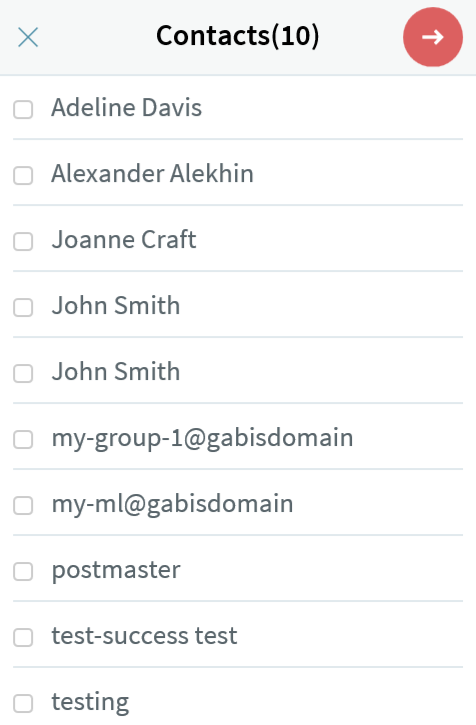
Browsing Existing Contacts
Select the "Contacts" link found at the end of the folders list if you want to view, modify, or add a new entry to your personal contacts.

To view or edit a contact's details, select the desired contact's name from the list, which will open the contact for editing.

Custom contact folders, other users' contact folders, and public contact folders are not accessible via the Mobile Webmail interface.
Use the "+" button at the top of the page to add an entry to your "Contacts" folder.
Working with Messages
Reading Messages
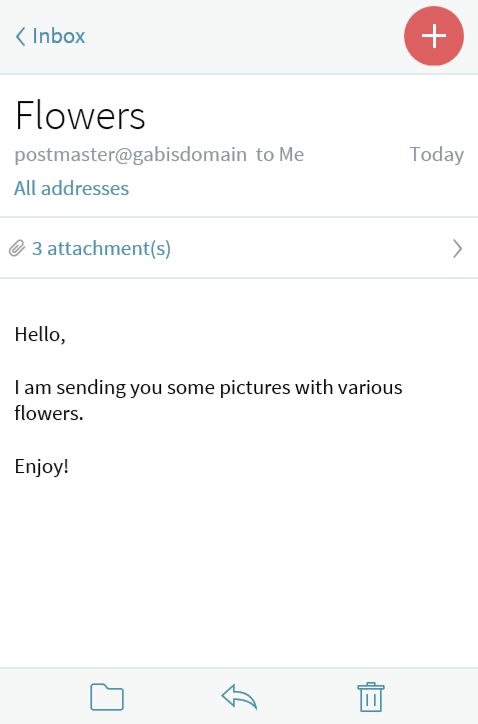
Click the subject of a message in the list to open the message reading window.
When viewing a message in the Mobile WebMail interface, the following parts are displayed:
-
header
-
message body
-
email actions

The header contains details such as the date / time, the subject, the sender ("From") and the recipients ("To" and "Cc" / "Bcc", if they were filled in) and the number of attachments.
All Addresses
Click the "All addresses" link to display the complete list of recipients of an email message - "From", "To", "Cc" and "Bcc" (where these fields exist) - and add them in the address book, by clicking on the email address link.
If you click an email address belonging to a contact that already exists in your address book, the respective contact will be opened for editing.

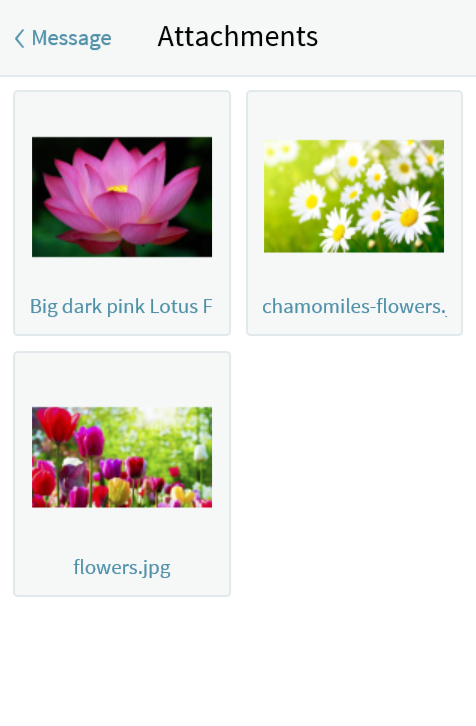
Attachments
Select the "[x] attachment(s)" link to display the files attached to the current message. They are displayed two per line with previews (thumbnails) for the GIF, JPEG and PNG image formats. Click on the attachment name to open or download the file on your mobile device, so you won't have to login to your email account in order to access it.
Message options

Use the action links at the end of the message to perform different operations on the current email:
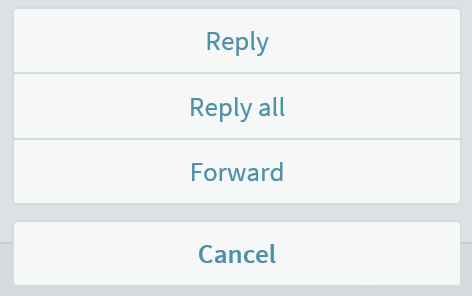
-
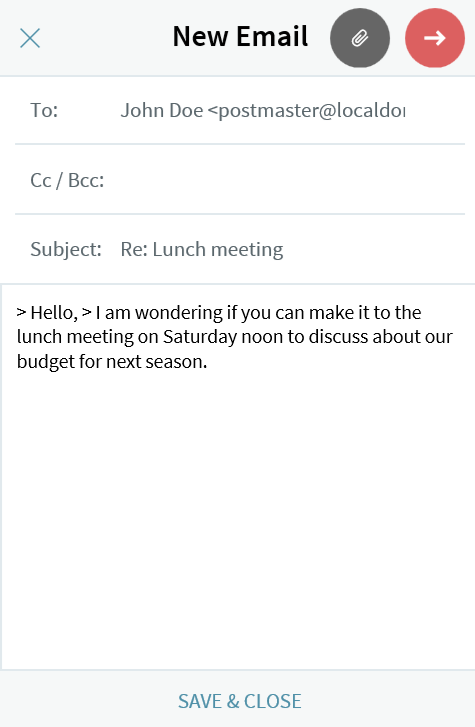
the "Reply" and "Reply all" links allow you to reply only to the sender of the message or to all its recipients - when using the "Reply" action, the new message composer windows will have the "To" field auto-completed with the original sender's address; when using the "Reply all" action, both the "To" and "Cc" fields will be auto-completed, in the message composer window, with the original sender's address and all the other recipients for that message, excluding your account;
-
use the "Forward" link to forward a received email to a different recipient;
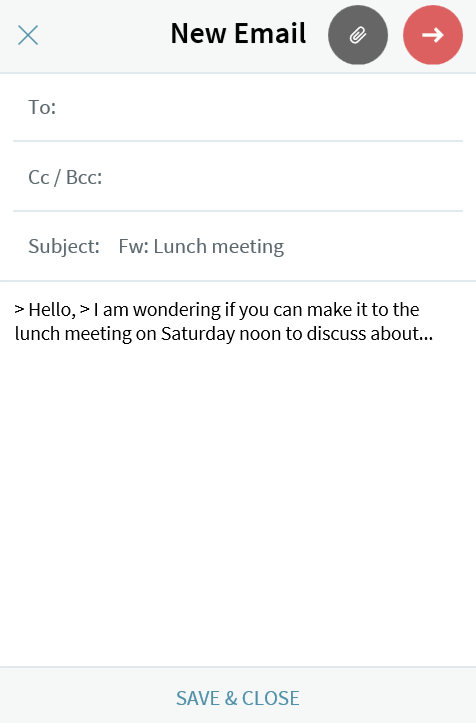
When the "Reply", "Reply all" or "Forward" actions are used, the new message composer window will have the "Subject" field auto-completed with the corresponding tag ("Re:" or "Fwd:") and the original subject text.
-
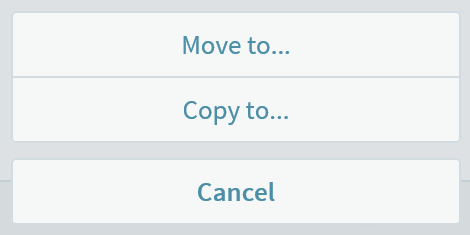
the "Move to" link can be used to move an email message to a different folder;
-
the "Copy to" link can be used to create a copy of the current message in another folder of your choice;
When performing a move or copy action, a new window will be displayed, which will allow you to select the destination folder.

Composing a New Message
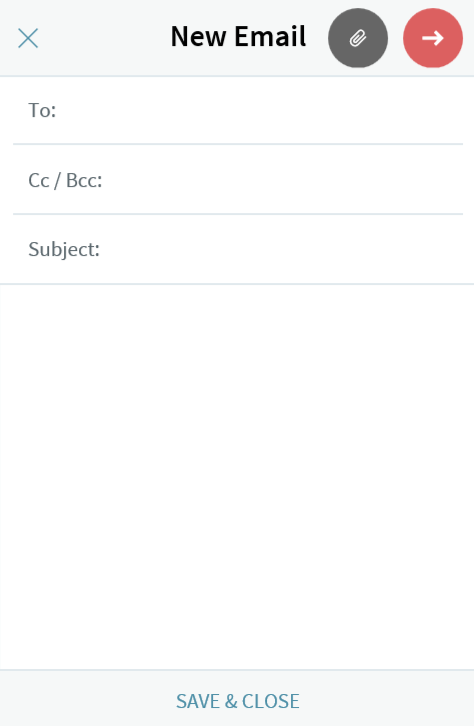
A new message can be created either by selecting the "Compose" link at the right top corner of any folder's message list, or as a result of replying / forwarding an already received message.
To edit an email message, take the following steps:
-
Enter the email addresses of the recipients in the "To:", "CC:", "BCC:" field (separated by commas if multiple) or add them from the address book by selecting the "To:" button;
-
Specify the subject of your message in the "Subject:" field;
-
Edit the body of your message;
-
Click "Send" to send the email message, "Save & Close" to save a draft of the current message and resume its editing at a later time, or the "X" button to abandon and return to the section where you previously were;
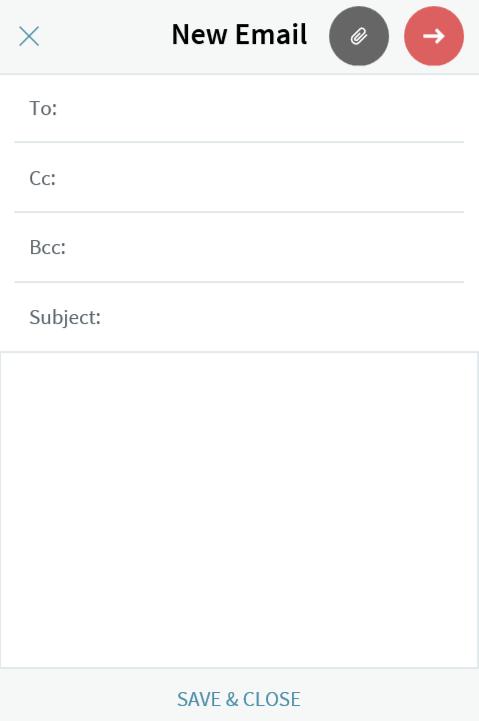
-
Tap the "Cc/Bcc" link to add more recipients, by filling the appropriate field(s).
Adding Recipients from the Address Book
When composing a message, if you tap the "To", "Cc" or "Bcc" fields, you will be presented with the address book view, which gives users access to the contact folders included in your address book.
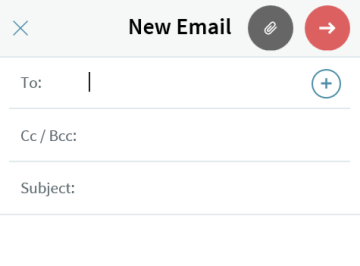
Select one or more contacts by ticking the check-box in front of each contact. Clicking on a contact link returns to composing the email and adds the email address of that contact to the specific field ("To", "Cc" or "Bcc").
Managing Contacts
Viewing / Editing a Contact
To view or edit details for a contact, tap on the contact name from the list, which will open the contact for editing.
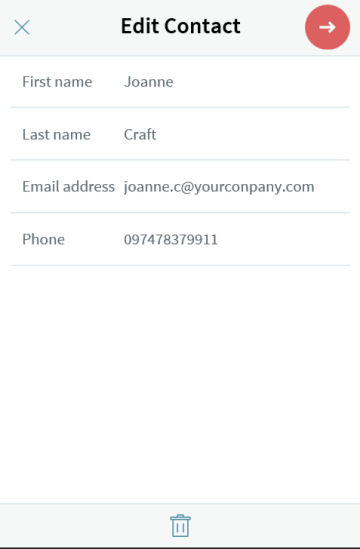
To delete a contact, select the "Delete" button at the end of the contact edit page.
In the Mobile Webmail interface, only the "First Name", "Last Name", "Email Address" and "Phone" fields are available for contacts. Other contact parameters, such as business or advanced personal details, are accessible via one of the full WebMail interfaces (Standard WebMail or Ajax WebMail).
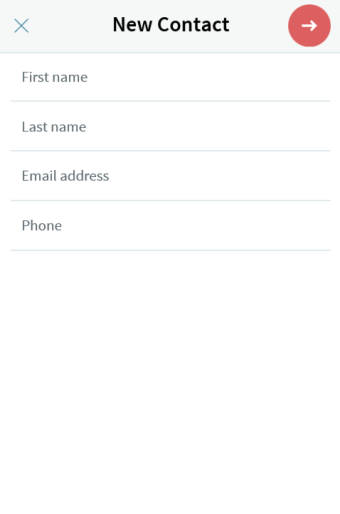
Creating a Contact
To create a new contact, tap on the "+" in the contacts list page and fill in the details ("First Name", "Last name", "Email address" and "Phone"). Choose "->" to save or "X" to cancel.
Managing Folder Permissions
Selecting a Folder to Manage Permissions for

To control a folder's sharing permissions, access "All email folders" in the main window and select the spanner-shaped icon next to the folder name. When accessing this section, a list of the already defined permissions is displayed. If no permission has been previously set, the list will be blank.
Managing Existing Permissions
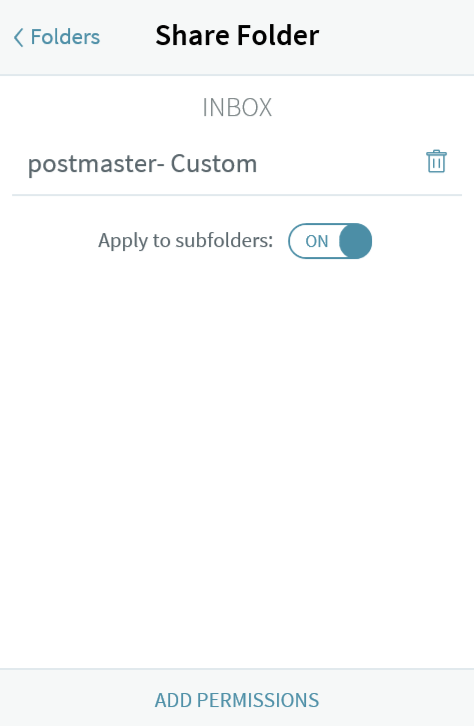
To edit an existing permission, click the username (only the level can be modified); to delete it, hit the bin-shaped "Delete" link.
Adding Permissions to More Users
Select "Add permissions" to add a user or a group of users.
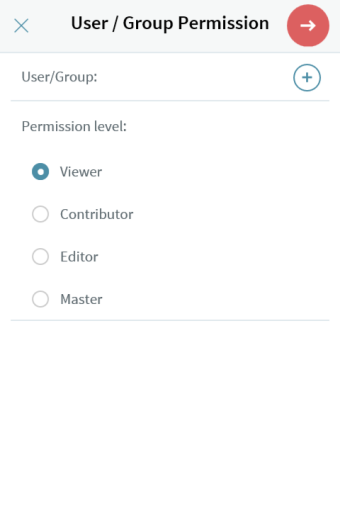
Defining the Permission Level
When editing a existing permissions or adding a new ones, you can set the permission level on the folder (only standard permission levels are available).
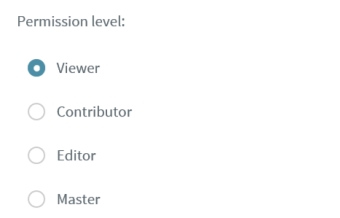
Custom permissions cannot be set from the mobile interface; to set custom permissions on a folder, you can use the full WebMail interfaces (Standard WebMail or Ajax WebMail).
-
"Viewer" level - means the selected user / group is allowed to:
-
View the folder;
-
Read the folder's content.
-
-
"Contributor" level - means the selected user / group is allowed to:
-
View the folder;
-
Read the folder's content;
-
Add items.
-
-
"Editor" level - means the selected user / group is allowed to:
-
View the folder;
-
Read the folder's content;
-
Add items;
-
Set / clear flags;
-
Mark items as deleted / not deleted;
-
Expunge the folder.
-
-
"Master" level - means the selected user / group is allowed to:
-
View the folder;
-
Read the folder's content;
-
Add items;
-
Set / clear flags;
-
Mark items as deleted / not deleted;
-
Expunge the folder;
-
Share the read / unread status
-
Add sub-folders;
-
Delete the folder;
-
Manage permissions.
-
Opening Other User's Folders
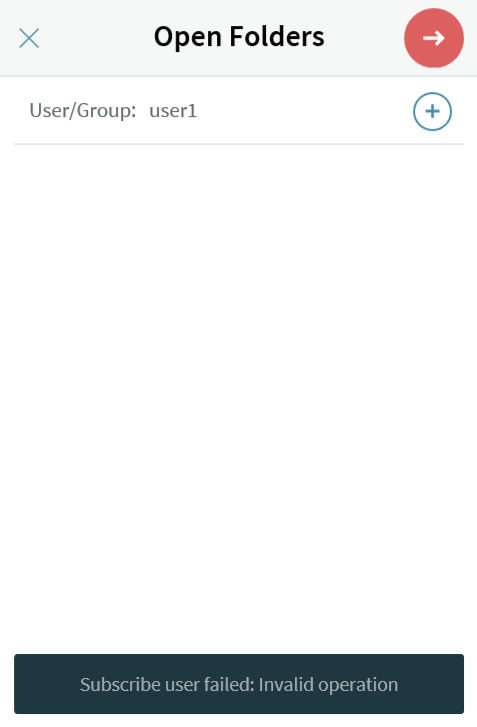
To have access to folders shared by other users, select the "Open other user's folders" link after accessing "All email folders" in the main window.
You can either select the email address from the contacts list in your domain, by choosing the "User / Group" button, or type it in the field below.
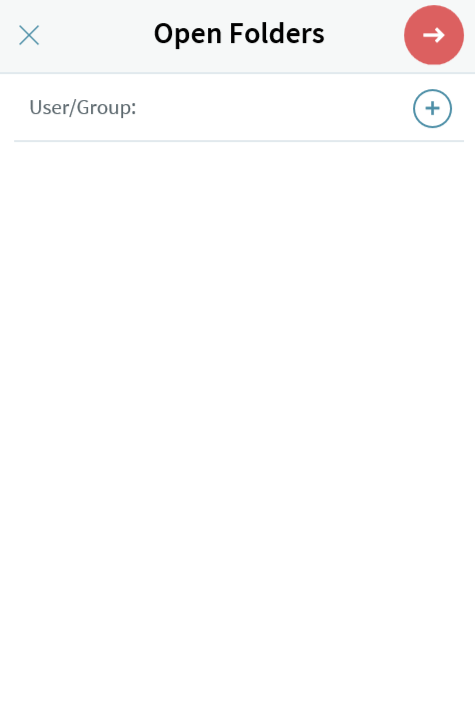
This option works only for users in the same domain that have previously set one of the permissions level for your user, as mentioned in the Defining the permission level section.
A folder with the respective user's name will appear in the "Other users' folders" section of your folder tree.
If you do not have any permissions set by that user on his folders, when you try to fill in the open shared folders form, you will be presented with an below error like the one shown below.