This article describes two methods of migrating users from Atmail to Axigen: automatic and manual migration. Additional reading: Why Axigen is the right Atmail alternative for you
Solution
To exemplify, we will use the following scenario: Atmail is currently the main server for domain example.org and you want to migrate users from Atmail to Axigen. The following two methods, automatic and manual, will migrate user@example.org from Atmail to Axigen.
- The Atmail server IP address is in our case: 10.0.239.178
- The IMAP service binds on port 143
- The SMTP service binds on port 25
Automatic Migration
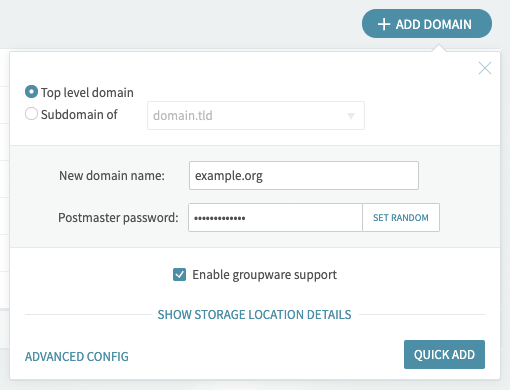
- Start by defining the example.org domain in Axigen from WebAdmin → Domains & Accounts → Manage Domains.
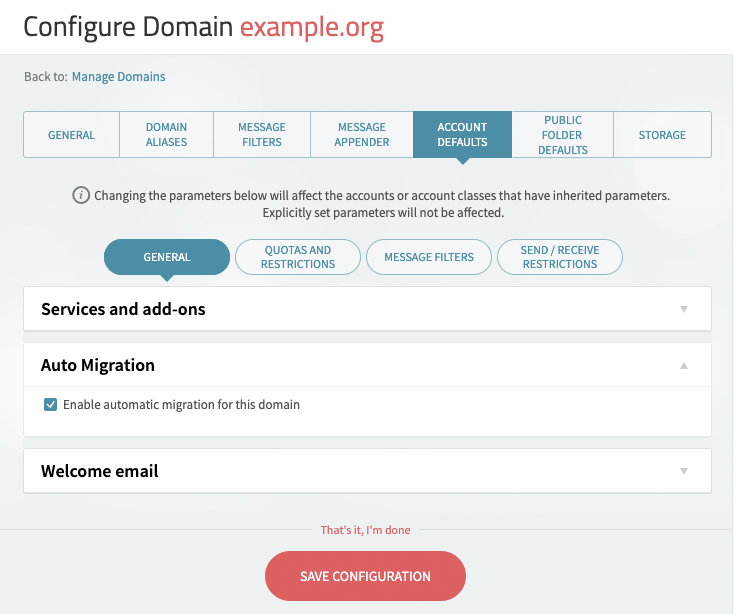
- Enable migration for all accounts from WebAdmin → Domains & Accounts → Edit → Account Defaults.
- Enable and configure automatic migration on the domain level from WebAdmin → Automatic Migration. The IP address must be enclosed between brackets: [X.X.X.X]
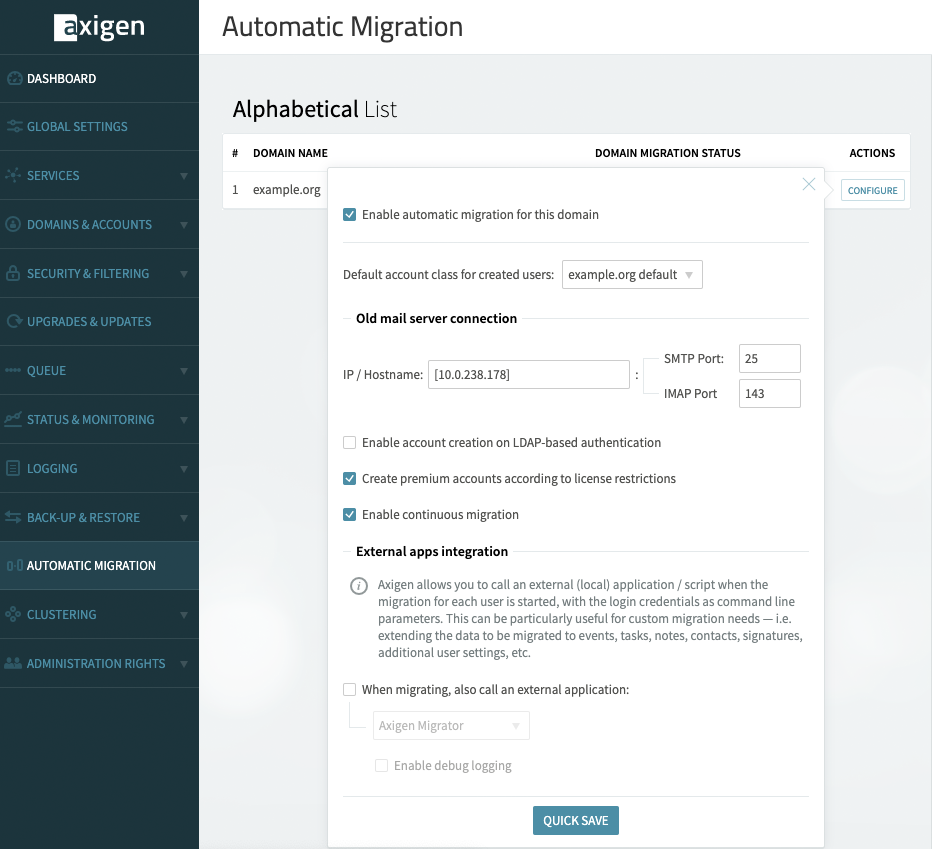
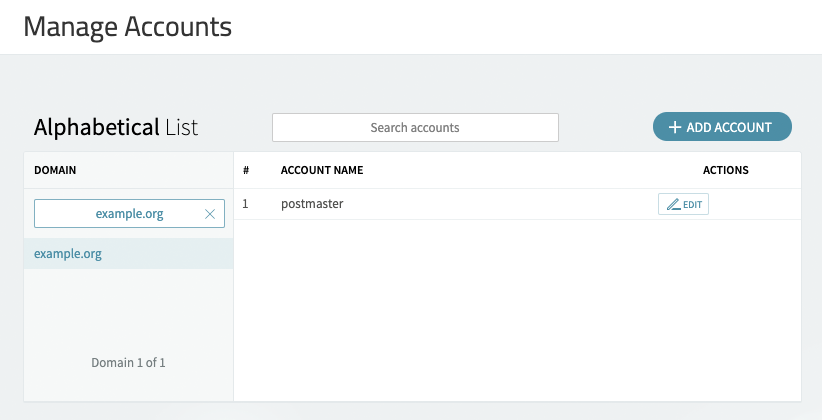
- When automatic migration is used, no other users should be defined except for the postmaster account.
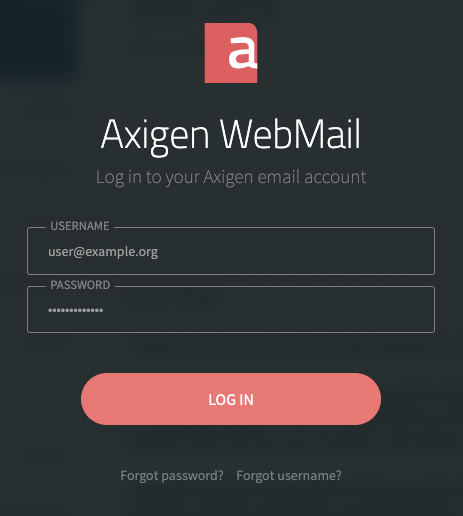
- The migration process starts when user@example.org first logs in. In this case, the user will log in via WebMail. She could also use another email client.
- After user@example.com is authenticated, the account is automatically defined in Axigen and messages are migrated.
Manual Migration
Manual migration is performed using the CLI interface. This method requires that the user is previously defined in Axigen, along with the password of the account to be migrated.
- Define the domain in Axigen from WebAdmin → Domains & Accounts → Manage Domains.
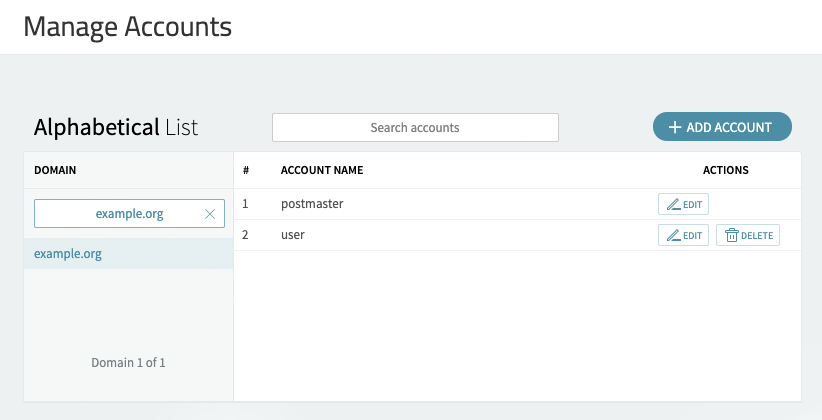
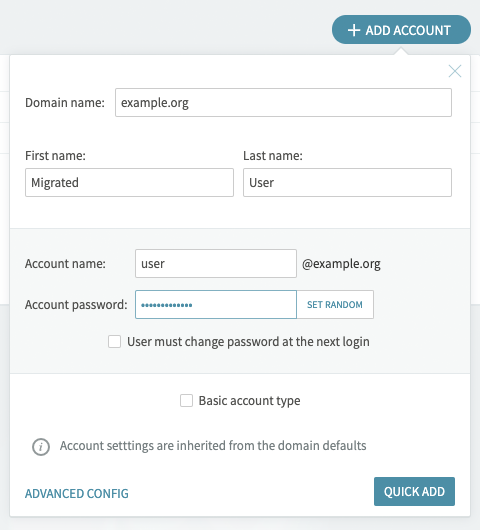
- Define the user to be migrated from WebAdmin → Domains & Accounts → Manage Accounts.
- Log in as admin to the CLI interface using telnet:
telnet "Axigen IP address" 7000 - Authenticate:
<login> user admin
<password> your_admin_pass - Go to domain context:
<#> update domain example.org - Issue the migrate command to begin the process or type HELP for more info.
<domain#> MIGRATE account user remoteHost 10.0.239.178 remotePort 143 remoteUser user@example.org remotePass secret_pass
and the output should be similar to:
Migrating INBOX
211 to migrate
Migrating Drafts
0 to migrate
Migrating Spam
0 to migrate
Migrating Sent
0 to migrate
Migrating Trash
47 to migrate
+OK: command successful