Updated: June 3, 2024
We’ve said it many times before — at Axigen we’re committed to building an email solution that’s powerful and offers great flexibility. That’s why our latest version, Axigen X3 Update 2 comes with many new and exciting features.
But we didn’t forget to give our existing features a revamp as well. One thing we looked at was our webmail skinning, or the advanced webmail customization process, to be more to the point.
Looking back, we realized that the process of customizing the webmail interface could be improved and made less time-consuming — as many of you told us. That’s why we’ve decided to simplify it by making use of SASS / SCSS.
This new approach will make things simpler for you while also allowing us to bring further improvements on this topic.
In short, with this new version, if you need to use Axigen with a custom WebMail, you can now more easily personalize the interface. If you’ve never used this before, here’s what you can expect:
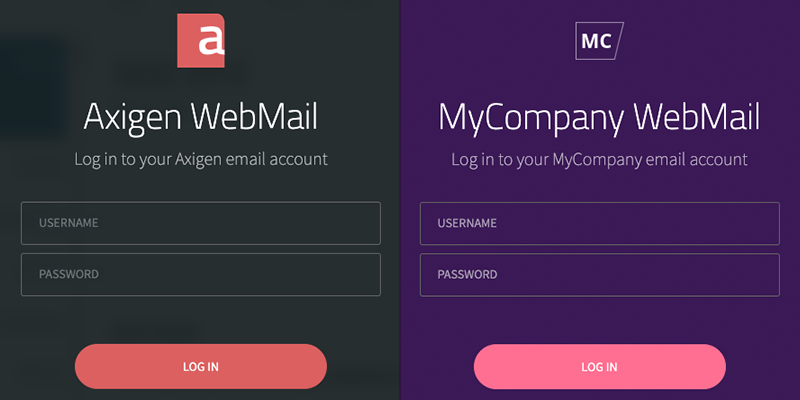
Default:

Sample customization:

New WebMail Styling Using SCSS
To make the customization process easier, we’ve re-written the webmail stylesheets from scratch. This means that if you’ve already personalized your webmail interface, you’ll have to redo it.
However, the good news is that now this process is simpler as you no longer need to design each component manually. Once you’ve decided on a color scheme, you can change the color once, using SCSS color variables, rebuild the CSS, and it will automatically spread throughout your application.
How to Personalize Your WebMail Skin in Axigen X3 Update 2
First of all, you should know that customizing the WebMail can be split in two: branding and advanced skinning / customization.
The WebMail branding feature allows you to personalize the common branding elements (brand name, logos, favicon) in the login and private contexts of the Axigen webmail applications (WebMail, Standard WebMail, Mobile WebMail).
With advanced skinning you can go way beyond this and turn the Axigen WebMail into your own application that has your required look and feel.
As we’ve previously mentioned, with this new update, you no longer need to change the colors of each component individually — any changes will be automatically applied to all application components.
Here are the steps needed to customize your WebMail:
Setting up Your Environment
We will assume that you already have an Axigen test instance. We’ll use the <Git-WorkDir> notation to refer to your local Git working directory and <Axigen-WorkDir> notation to refer to your Axigen working directory. This is by default:
- /var/opt/axigen — if you’re on Linux
- C:\Program Files\Axigen Mail Server — if you’re on a Windows machine.
Step 1: For starters, we’ve added the new WebMail stylesheets to a public Github repository, which you will need to clone: https://github.com/axigenmessaging/axiweb-scss. This repository uses dedicated branches for each Axigen version, so in this article we will use the axigen-10-3-2 branch, which you will need to checkout.
Step 2: If you’ve worked with SASS / SCSS before, you already have a SASS compiler; alternatively, you could use a number of tools for this, from Koala or ScoutApp (if you prefer a GUI) to node-sass (if you’re already into npm).
Step 3: Set the webmail folder in your <Git-WorkDir> as your input folder and <Axigen-WorkDir>/webmail/default folder as your output folder. This will ensure that the compiled CSS files will replace the default ones.
Using SASS Variables
Axigen uses three themes (Ocean, Breeze, Neutral). We’ll further look at customizing Breeze, which is the default theme.
Open the <Git-WorkDir>/include/webmail/theme-breeze/_variables.scss file which contains all the colors used in the application (both private and public contexts). They are grouped into categories and use inheritance where suitable, so this is the single place we need to alter in order to change the color scheme.
//* Global
//*
$theme-main-color: #4c8ea6;
$theme-secondary-color: #dc6060;
$inner-border-color: #e1e9ed;
$text-main-color: #51514f;
$text-contrast-color: #000;
$theme-main-lighter-color: #757e80;
$theme-light-mode-background-color: #fff;
//******************************************************************************
//* Ext overrides
//*
// Action buttons
$outline-button-background-color: transparent;
$outline-button-border-color: #dae2e6;
$outline-button-text-color: $text-main-color;
$highlight-button-background-color: $theme-secondary-color;
$highlight-button-border-color: $theme-secondary-color;
$highlight-button-text-color: #fff;
// Loader
$loader-background-color: $theme-light-mode-background-color;
$loader-text-color: $text-main-color;
// Preloader
$preloader-title-text-color: #fff;
$preloader-subtitle-text-color: rgba(#fff, .4);
$preloader-frame-background-color: transparent;
$preloader-frame-border-color: rgba($theme-main-color, .3);
$preloader-progressbar-background-color: $theme-main-color;
$preloader-percent-text-color: $preloader-subtitle-text-color;
...
The following theme stylesheets which use these variables:
- <Git-WorkDir>/webmail/css/style_ajax_breeze.scss — for the public (login) context
- All the stylesheets in <Git-WorkDir>/webmail/private/ajax/Resources/css/theme-breeze/ — for the private context
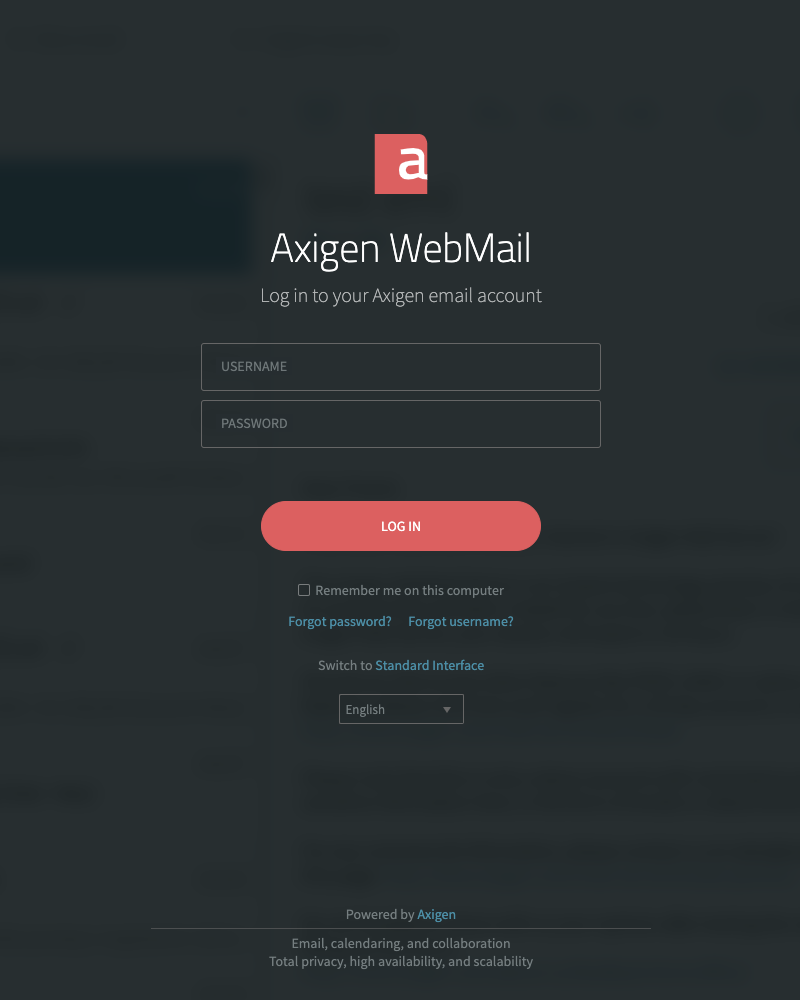
Customizing Your Login Page and App Loading Screen
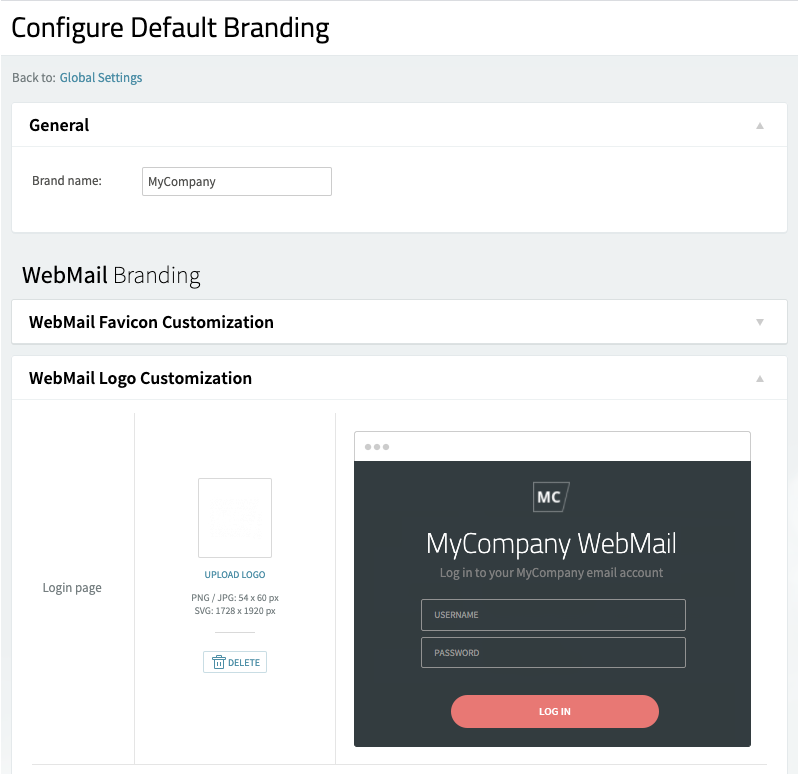
Step 1: Apply your branding elements — Log into the WebAdmin → Global Settings → Branding, change the brand name, and upload a favicon and the logo for the login page.
Step 2: To change the overlay style, open _variables.scss and change the $mask-level-0 color:
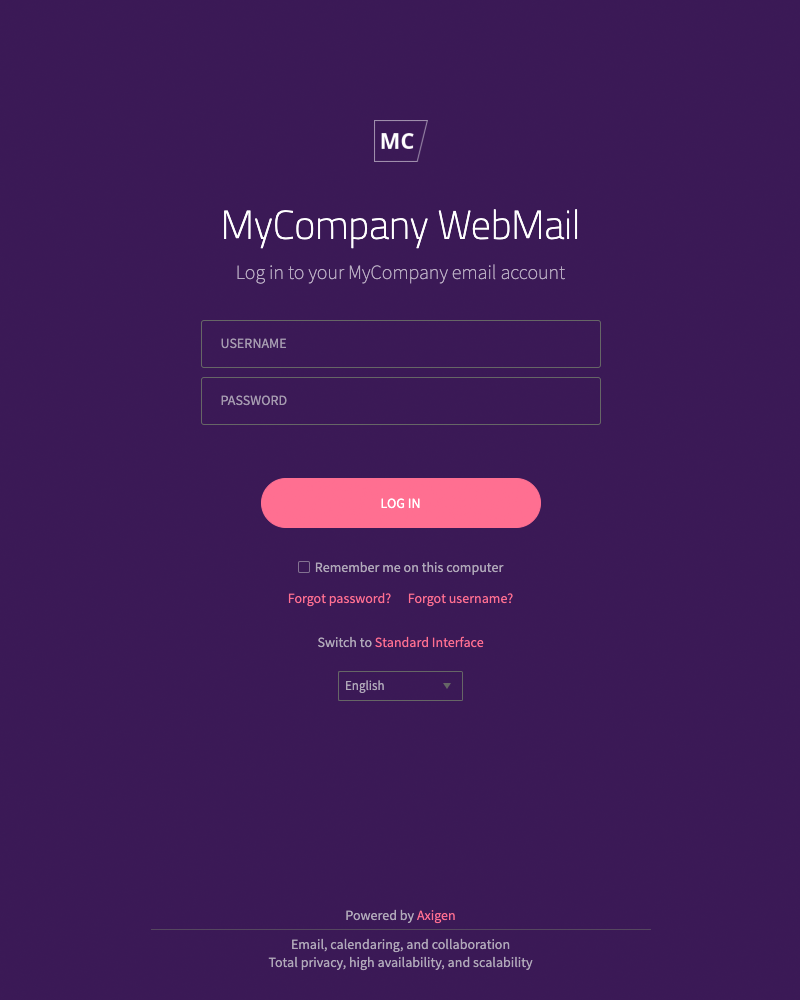
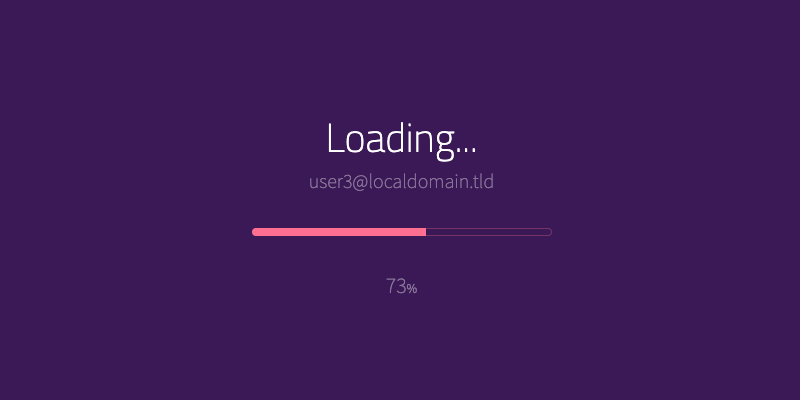
Default:
Custom:
Step 3: To alter the rest of the elements of the login page, change the following variable groups:
Default:
//* Global
//*
$theme-main-color: #4c8ea6;
$theme-secondary-color: #dc6060;
$inner-border-color: #e1e9ed;
$text-main-color: #51514f;
$text-contrast-color: #000;
$theme-main-lighter-color: #757e80;
$theme-light-mode-background-color: #fff;
and
$input-animated-label-label-background-color: #262d30;
$input-animated-label-disabled-label-color: rgba(#fff, .25);
Custom:
//* Global
//*
$theme-main-color: #FF6F91;
$theme-secondary-color: #FF6F91;
$inner-border-color: #e1e9ed;
$text-main-color: #4B4453;
$text-contrast-color: #000;
$theme-main-lighter-color: #B0A8B9;
$theme-light-mode-background-color: #fff;
and
$input-animated-label-label-background-color: #3b1956;
$input-animated-label-disabled-label-color: rgba(#fff, .25);
Customizing the Private Context
You will notice that the global variables above also affect the private context of the app — after all, we want to have the same color palette all across all the elements.
If you want to further customize various elements in the private context, you do that by altering the variables in the other groups, which have suggestive names.
In our example, we’re going to additionally change the styling of the sidebar and the overlays:
Default:
$logo-background-color: #32505a;
and
$mask-level-2: rgba(#262d30, .8);
Custom:
$logo-background-color: #3b1956;
and
$mask-level-2: rgba(#3b1956, .8);
You can obviously do a whole lot more to personalize all the elements as you need.
More information
- WebMail Branding in Axigen
- Branding the WebMail for a Domain
- WebMail Listeners, Virtual Hosts & Control Rules
- Managing SSL Certificates