Solution
This article applies for Axigen X1 (10.1.x) to X3 Update 1 (10.3.1).
Starting with Axigen X3 Update 2 (10.3.2), the webmail customization is done via SASS.
This article does not treat branding (i.e. using your own logos and brand name instead of the default ones) — it goes a step further and describes how to make additional changes to the WebMail to match your desired appearance. For branding only, here's a detailed article on branding your WebMail interfaces directly via WebAdmin.
You can customize your WebMail appearance by modifying the WebMail html and css files in
Information on how to prepare the WebMail service for skinning and customization can be found in our related article: https://www.axigen.com/kb/show/132.
This article assumes that you have the necessary HTML and CSS knowledge to safely make the customizations described below.
Please note that WebMail customizations do not make object of support. In addition, we strongly recommend you to make and keep a backup copy of the files you're altering.
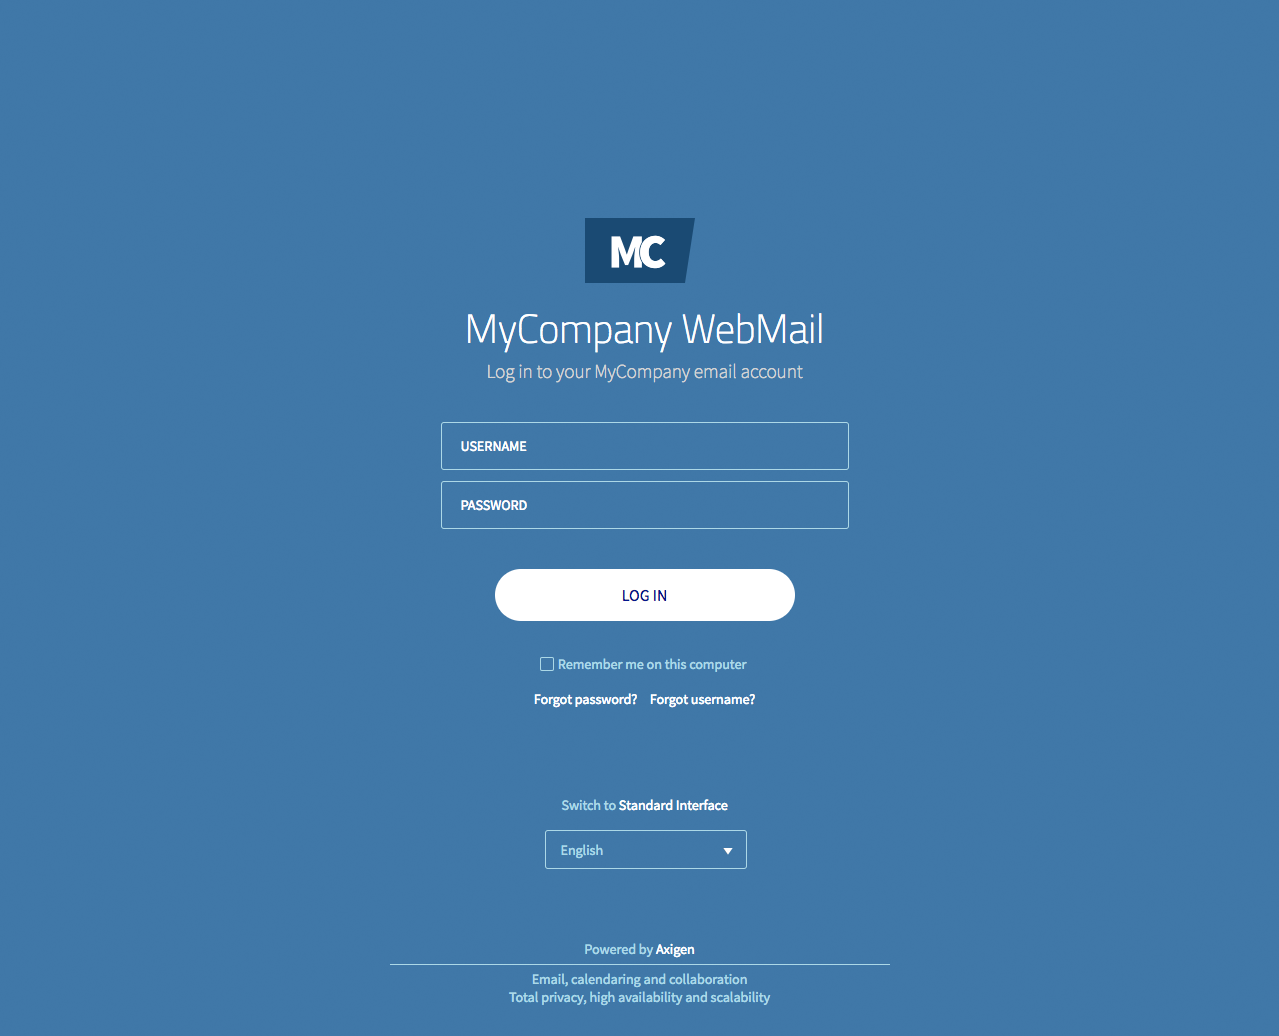
Customizing the WebMail login context
- The login page has a dynamic background image — it gets changed based on the layout (i.e. reading pane position and display density) used by each user in the authenticated context — as well as an overlay that's displayed over the background image with some degree of transparency.
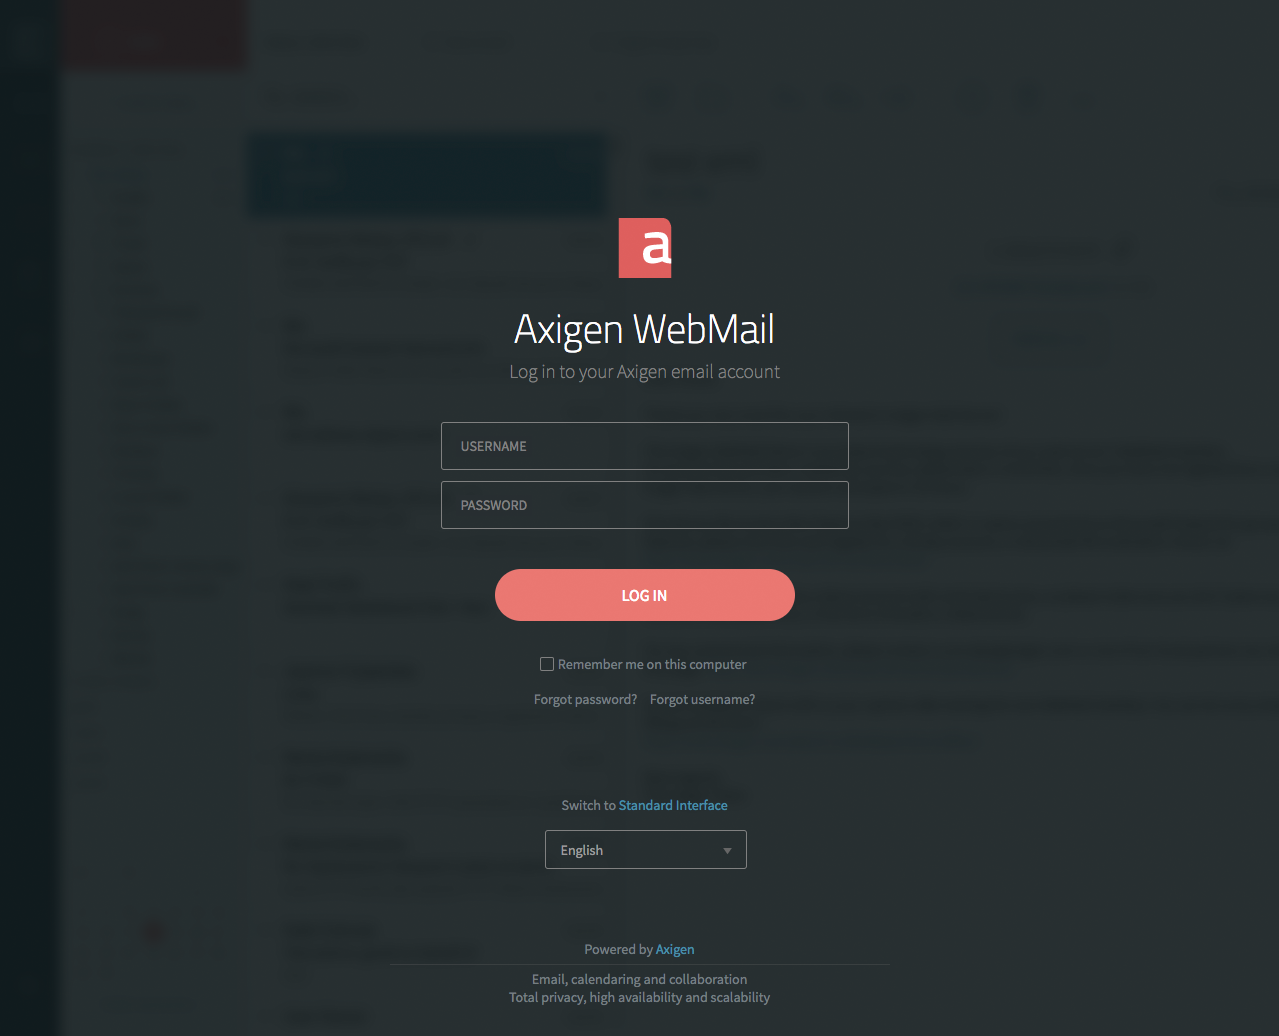
- To change the background image, locate the
/webmail/default/css/ folder on the disk and edit the style_ajax_ocean.css file. Search for the body:not(.error)::before CSS class and alter the background-image declaration. In addition, open/webmail/index_ajax.hsp , search for body::before and perform the same change. - For changing the overlay style, search for the .overlay-opacity CSS class in the same file and change its properties (e.g. add a background-image, change the background-color, or the opacity property).
Unless you have more complex customization needs, we recommend to only change the overlay style, for simplicity purposes.
- In addition, should you need to alter the other elements in the page (i.e. text colors, backgrounds, and borders), you can do this by changing the color,border, and / or background-color properties in a number of classes from the style_ajax_ocean.css, style_ajax_breeze.css, and style_ajax_neutral.css files (as the login page is themed, you will need to change all three theme related CSS files); below you can find the relevant CSS classes and resources that cover them:
- .main-container h1 — the main title
- .main-container p — the main subtitle
- .x-axi-label .x-form-item-label:before — the username and password background color
- input.x-axi-textfield — the username and password input fields borders
- .x-axi-checkbox .x-form-check and .x-axi-checkbox .x-form-cb-label — the "remember me" checkbox its associated text
- .x-axi-link .x-btn-center button — the "forgot password" / "forgot username" links, if they exist
- .footnote p and .footnote a — the "Switch to Standard Interface" and footer text and links colors
- #language-container.x-axi-brown-combo .x-form-field-wrap, #language-container.x-axi-brown-combo .x-form-field-wrap, and .x-axi-language-combo
- — the language drop-down;
- .footnote .powered-by — the "powered by" horizontal line.
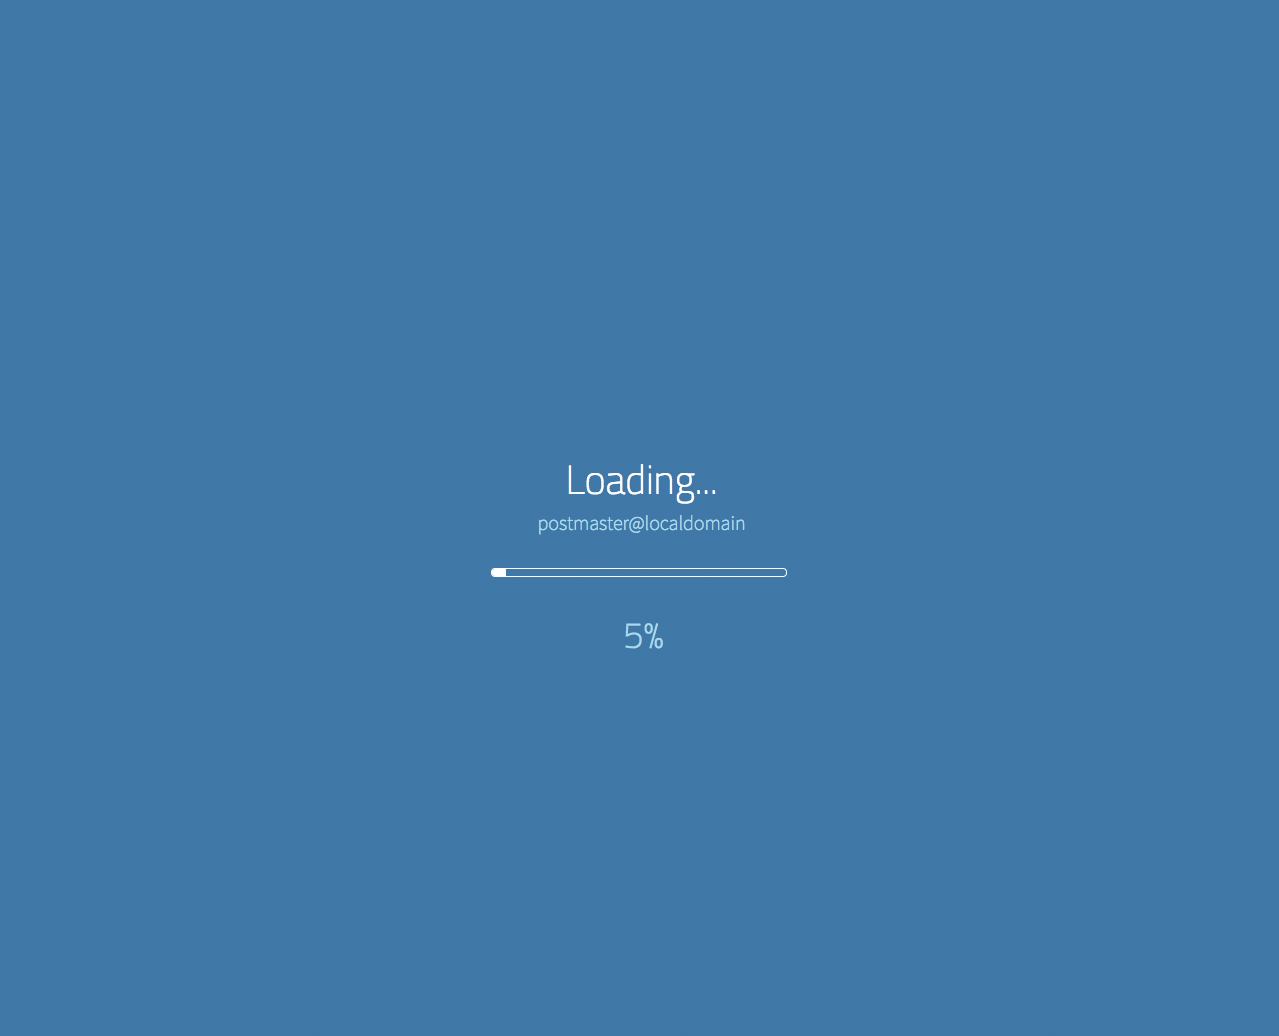
Customizing the WebMail loading context
- The loading screen has a similar elements to the loading page &hash; a background image and a semi-transparent overlay on top.
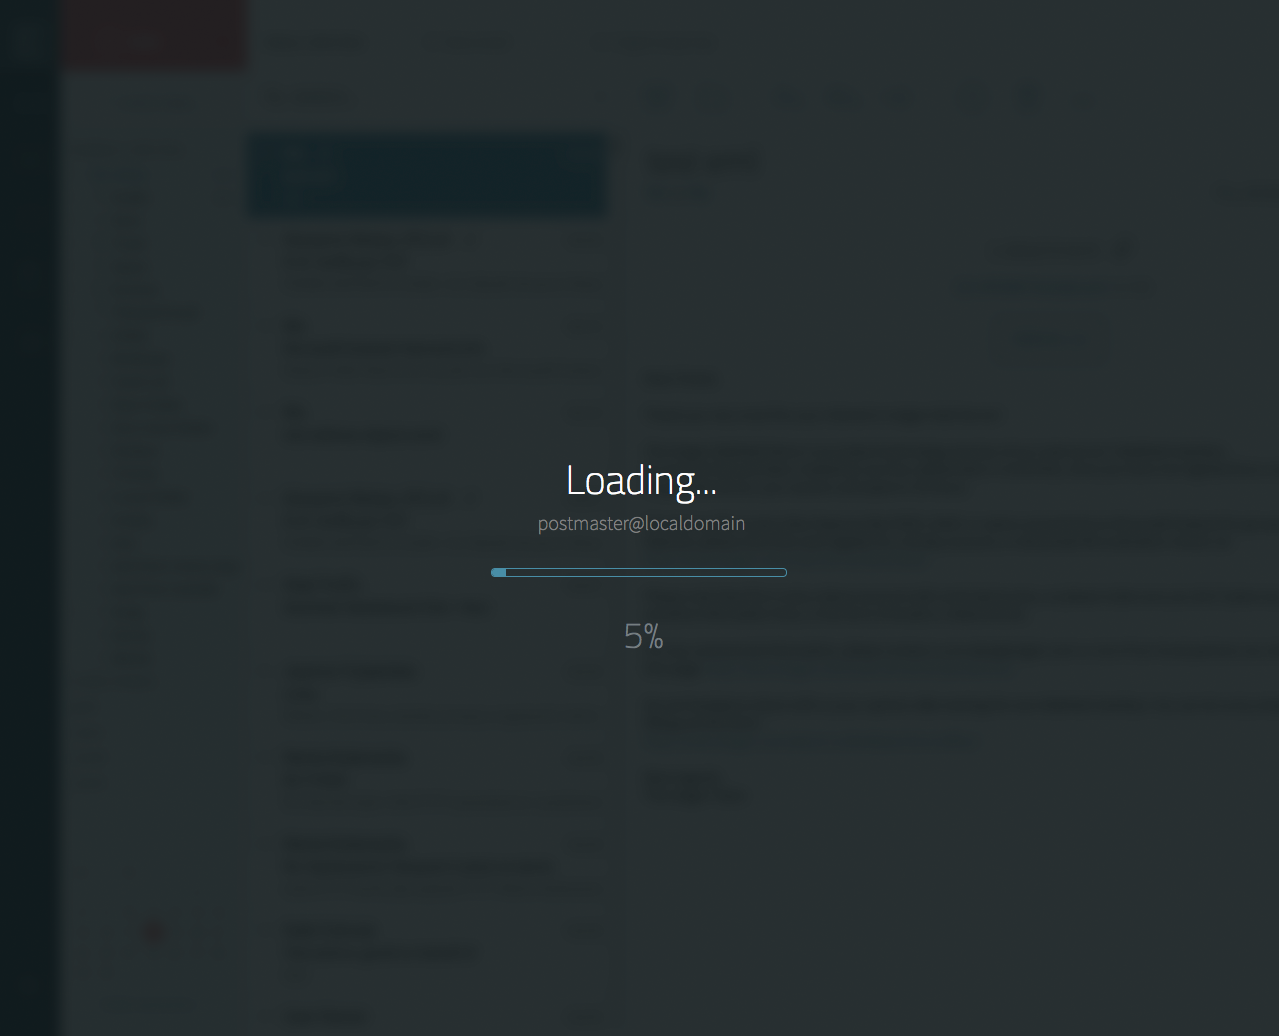
- To change the background image, locate the #loading-mask CSS class in
/webmail/default/private/ajax/index.hsp - For the overlay style, locate the #loading-mask-over CSS class in the same file.
Unless you have more complex customization needs, we recommend to only change the overlay style, for simplicity purposes.
- To alter the style of the text elements in the page, you can refer to the same file as above and change the color, background, and / or border properties in the following classes:
- .loading-text — the "Loading..." title
- .loading-user-name — the email address subtitle
- #progress .x-progress-text div and #progress .x-progress-text div span — the loading percent
- If you also need to change the look of the progress bar, you will need to do this on each of themes; open the
/webmail/default/private/ajax/Resources/css/axitheme-breeze/axitheme-ocean.css ,/webmail/default/private/ajax/Resources/css/axitheme-breeze/axitheme-breeze.css , and/webmail/default/private/ajax/Resources/css/axitheme-breeze/axitheme-neutral.css files and change the following CSS class in each of them:- #progress .x-progress-inner — the progress bar and its outline
Notes:
- The default
differs depending on the operating system used; please complete the path of the Axigen directory above with the one corresponding to your operating system: - /var/opt/axigen — Linux
- C:\Program Files\Axigen Mail Server — Windows
Important:
- When upgrading to future Axigen versions, you need to either repeat the customization procedure or save the modified files and copy them to rewrite the upgraded WebMail pages.
- Removing or altering the text entries related to the Axigen footer on the login page (the "Powered by Axigen" part and the following line) is NOT permitted.