- Performing Axigen WebMail Single Sign-on
- Deep Linking Emails in Third Party Apps to Open in WebMail
- Integrating Zoom into the WebMail Calendar
- Integrating Microsoft Teams into the WebMail Calendar
- Configuring BIMI for Your Axigen WebMail: A Step-by-Step Guide
- Configuring SMS Connectors for 2-Step Verification and Account Recovery
Updated: May 6, 2025
This integration is available starting with Axigen X6 (10.6.0).
Versions prior to 10.6.9 only support “Personal Microsoft accounts only / Consumers” application types. Starting with 10.6.9, all application types are supported.
Axigen's integration with Microsoft Teams enables users to add Teams* meeting invitations linked to their personal Teams account when scheduling a calendar event in WebMail. This integration ensures that any modifications made to the event within WebMail are automatically synchronized with the Teams application, reflecting updates in real time. This synchronization helps maintain consistency and ensures that all participants have the latest information.
Concepts
Teams (Microsoft) issues an access token, which is then sent to Axigen. This access token is the key that allows Axigen to create meeting requests in Teams on behalf of the Axigen account. In other words, Axigen doesn't have any knowledge of your Teams account; it only has the token that permits it to manage your meetings on your behalf.
These tokens are available for 1 hour. When they expire, Axigen will request a refresh token to ask for a new token.
Essentially, the Teams application acts as a frontend. Through OAuth, it allows Axigen, as a delegate, to perform a small set of operations on behalf of a user, based on the consent the user has given.
Upon correctly publishing their application, the admin receives a client ID and a client secret for access. The admin then configures the OAuth connector that Axigen uses to access the application. You should fill in the public information (authorization and token endpoints) with the relevant details for the service you are using.
The synchronization direction is Axigen → Teams, where Teams is reading the Axigen user's Calendar events.
*) Or Skype, depending on your account type. The account used in this example is quite a basic one, and therefore, some limits might appear.
Note: Starting May 5, 2025, Skype has been officially shut down, as Microsoft transitions users to Microsoft Teams Free.
Application Types
The client (Axigen) can allow the connection of all accounts (common), personal accounts (consumers), organizational accounts (organizations), or a specific user — {tenantId}. This is reflected in the authorization and token URLs.
Tenant
Accounts in this organizational directory only (Your organization only - Single tenant)
All user and guest accounts in your directory can use your application or API.
Use this option if your target audience is internal to your organization.
The {tenant} value in the above URLs has to be replaced with the actual value present in the “Directory (tenant) ID” field in the App Registration Overview Screen — see the below screenshot in section 1.3.
Organizations
Accounts in any organizational directory (Any Microsoft Entra ID tenant - Multitenant)
All users with a work or school account from Microsoft can use your application or API. This includes schools and businesses that use Office 365.
Use this option if your target audience is business or educational customers and to enable multitenancy.
Common
Accounts in any organizational directory (Any Microsoft Entra ID tenant - Multitenant) and personal Microsoft accounts (e.g. Skype*, Xbox)
All users with a work or school, or personal Microsoft account can use your application or API. It includes schools and businesses that use Office 365 as well as personal accounts that are used to sign in to services like Xbox and Skype.
Use this option to target the widest set of Microsoft identities and to enable multitenancy.
Consumers
Personal Microsoft accounts only
Personal accounts are used to sign in to services like Xbox and Skype.
Use this option to target the Personal Microsoft identities only.
Installation and Configuration
There are 3 main phases to configure this integration:
-
Teams Preparation: Registering an Application in Azure AD
-
Axigen Preparation: Creating and Configuring the Teams Connector in Axigen
-
End-user Settings
Steps #1 and #2 can be performed in any sequence.
1. Teams Preparation: Registering an Application in Azure AD
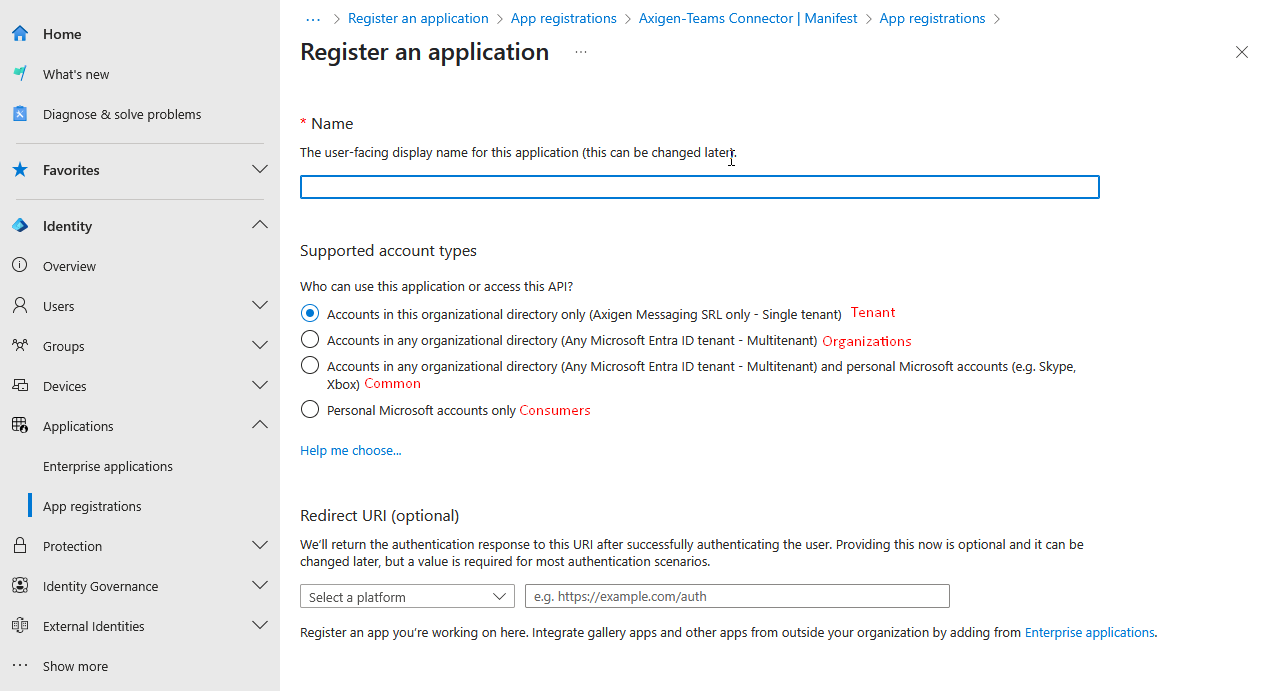
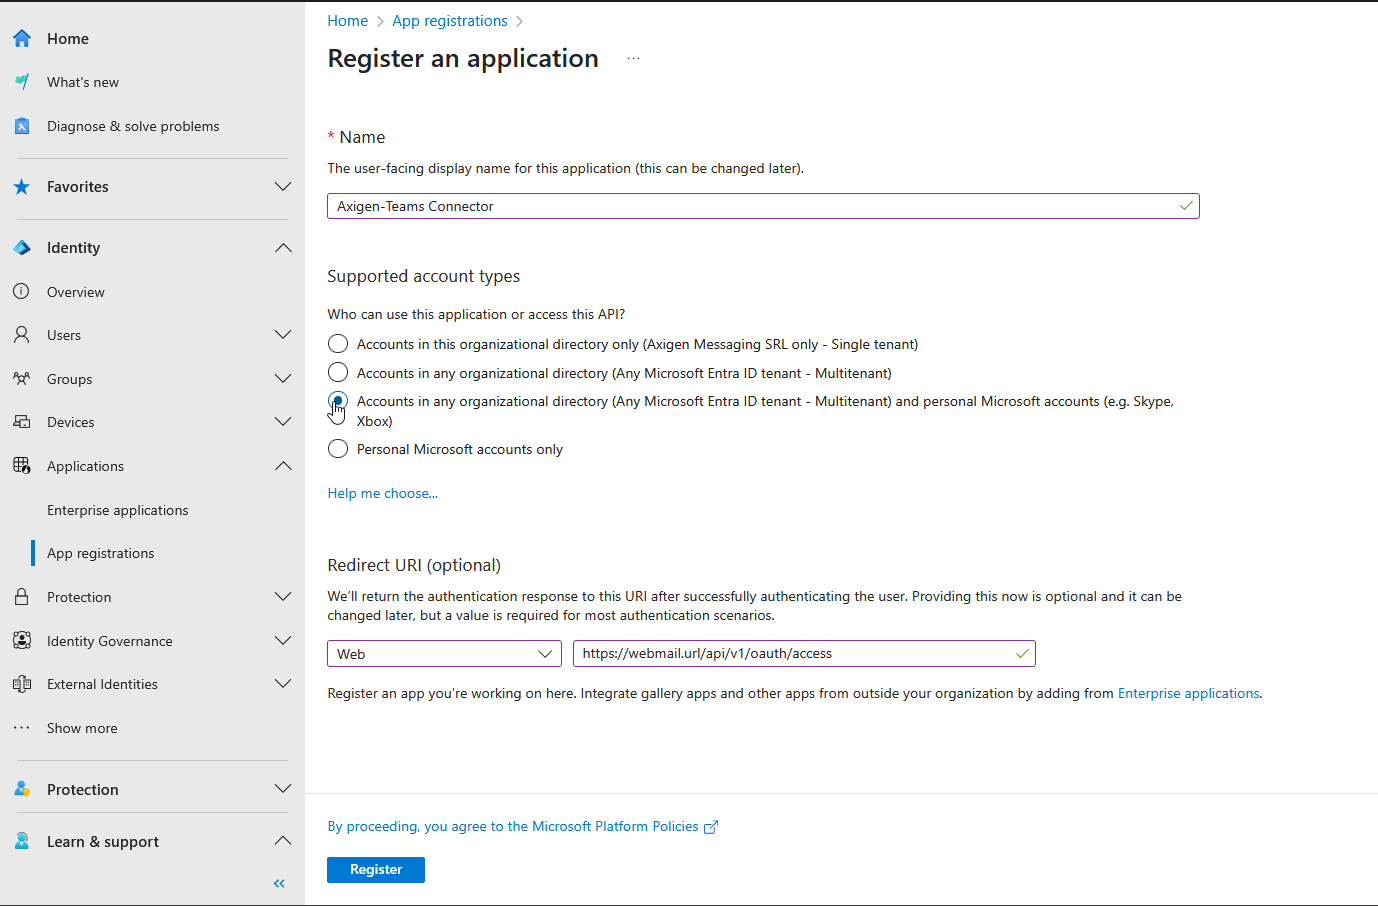
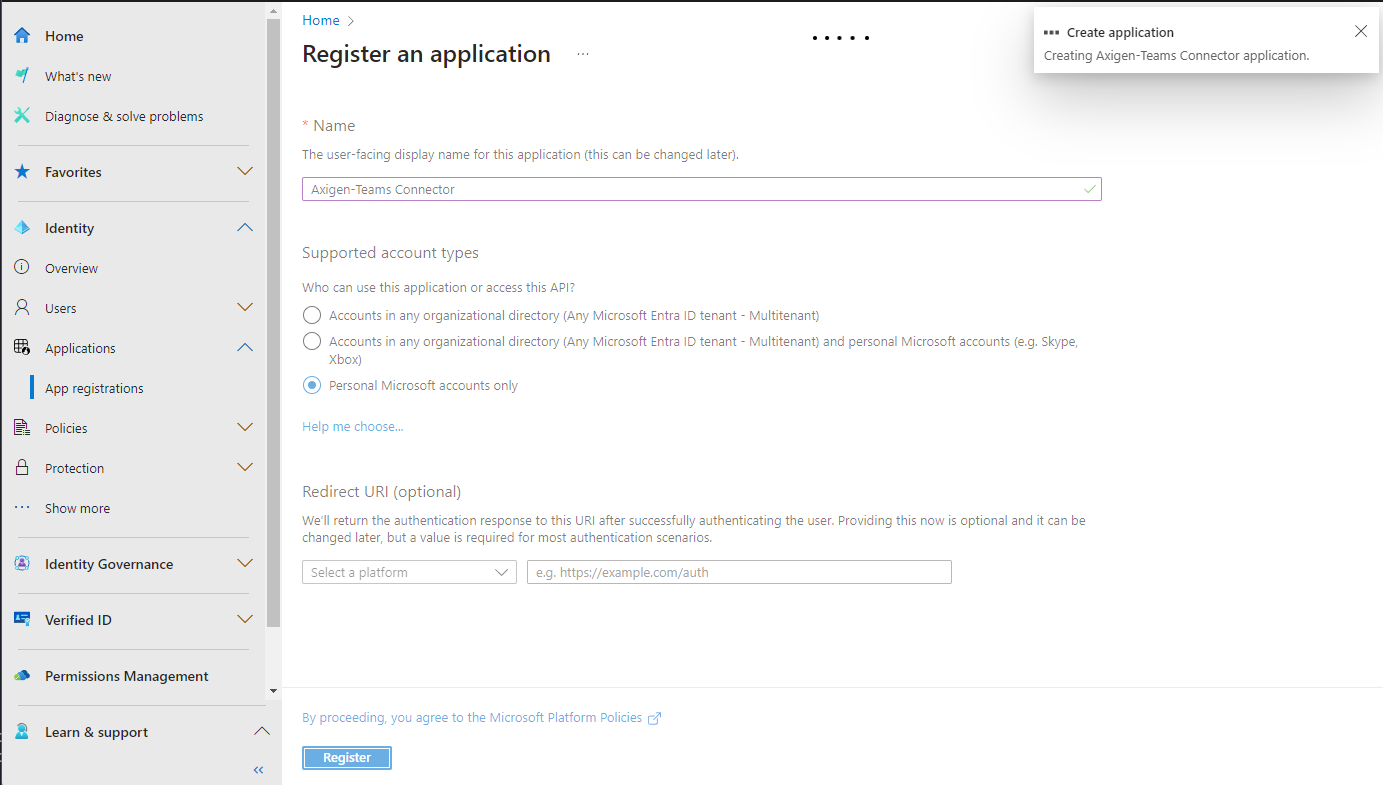
1.1. Log in to the https://entra.microsoft.com/#view/Microsoft_AAD_RegisteredApps/CreateApplicationBlade with your Microsoft developer account
1.2. Select the application type you need and fill in the OAuth Redirect URL to https:/webmail.url/api/v1/oauth/access endpoint of your Axigen server deployment.
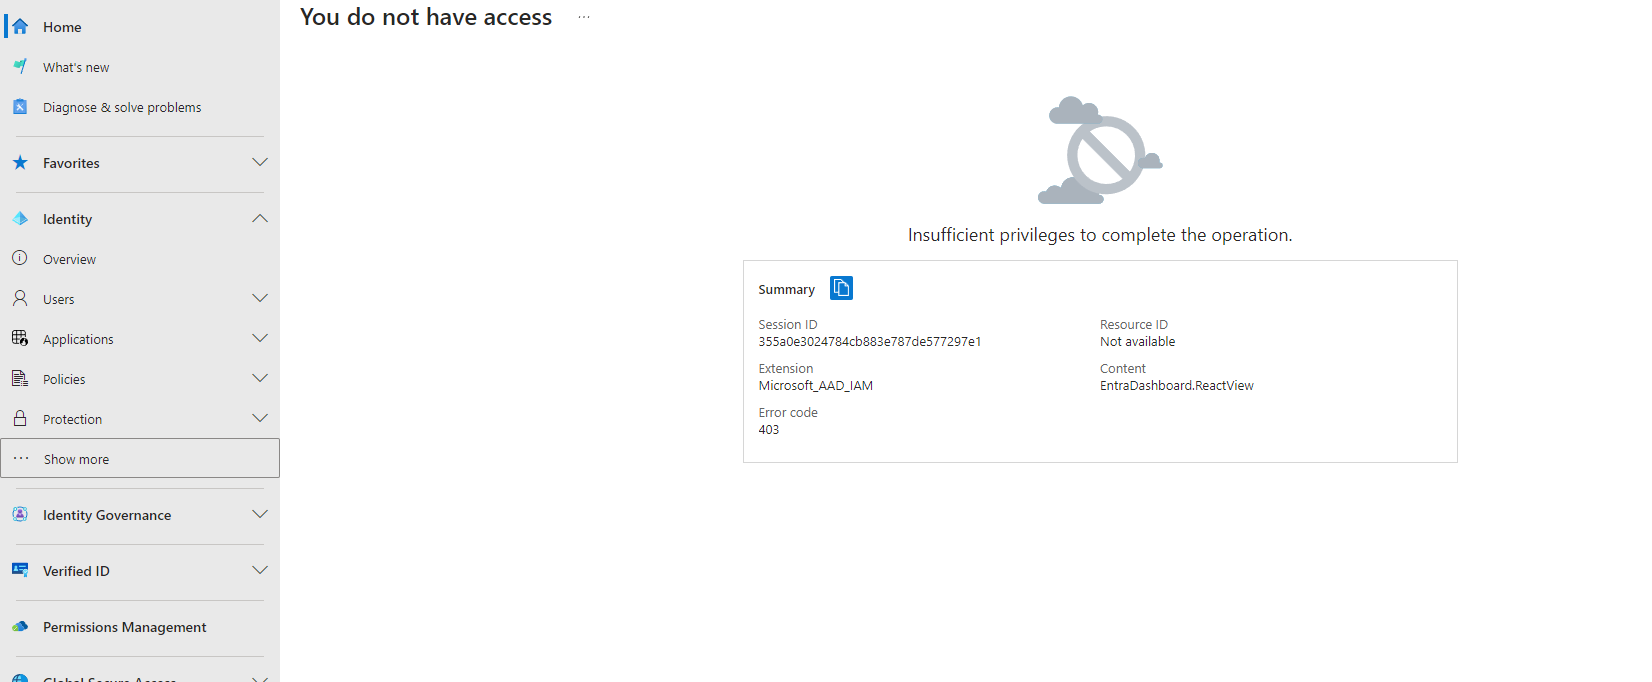
If you don’t know what type of application to choose, you may go with Common - Accounts in any organizational directory (Any Microsoft Entra ID tenant - Multitenant) and personal Microsoft accounts (e.g. Skype*, Xbox) which is suitable for most of the scenarios.
This is likely due to insufficient permissions associated with your Microsoft developer account — for instance, if you are using a free-tier account.
1.3. Select App registrations in the left menu

1.4. Now, add a client secret.
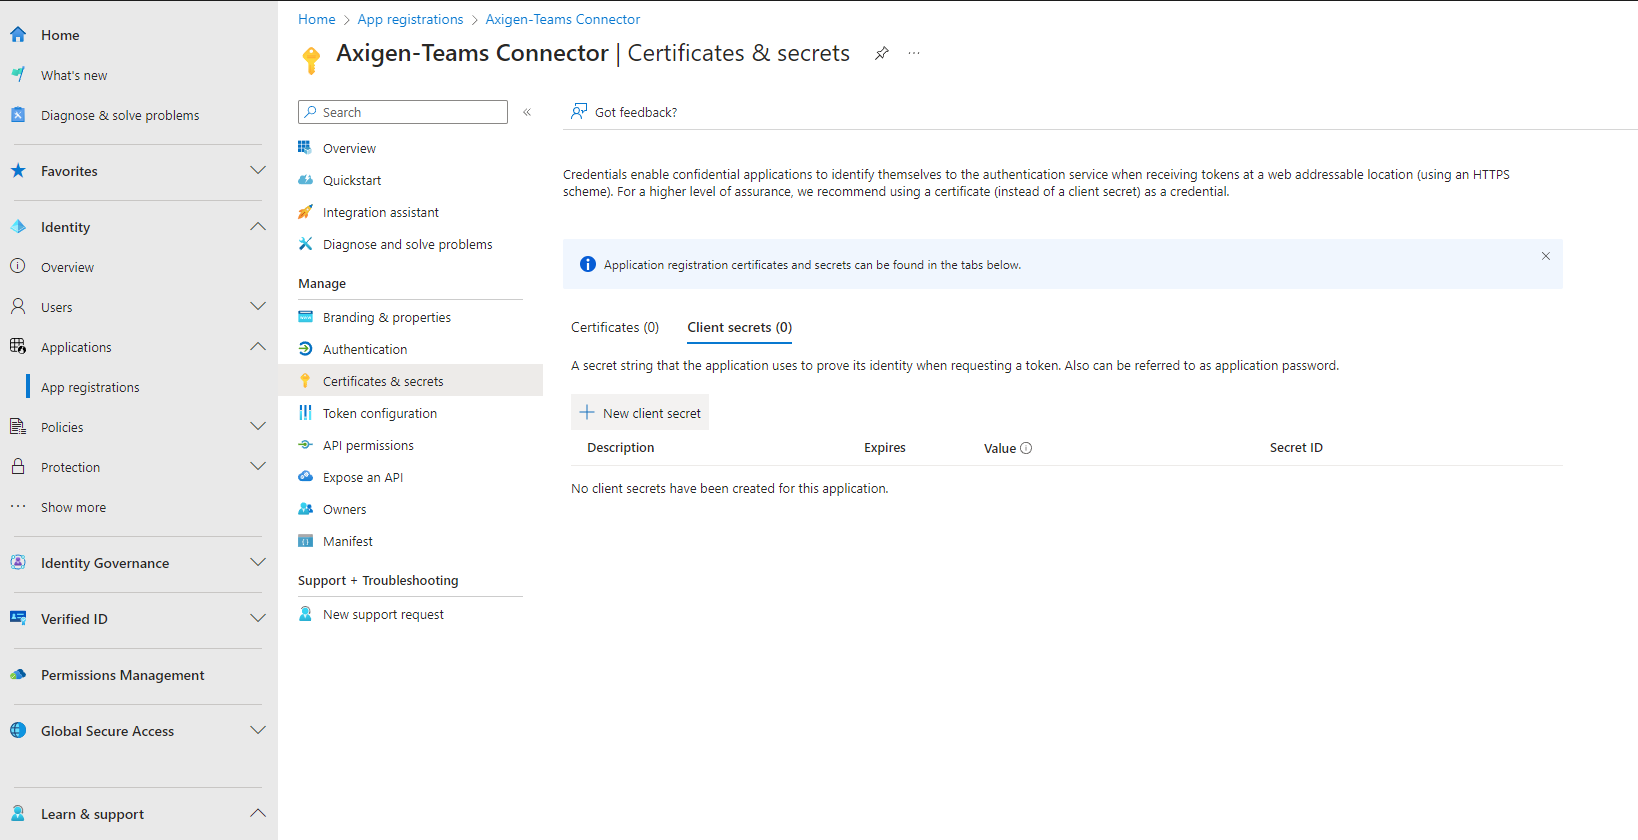
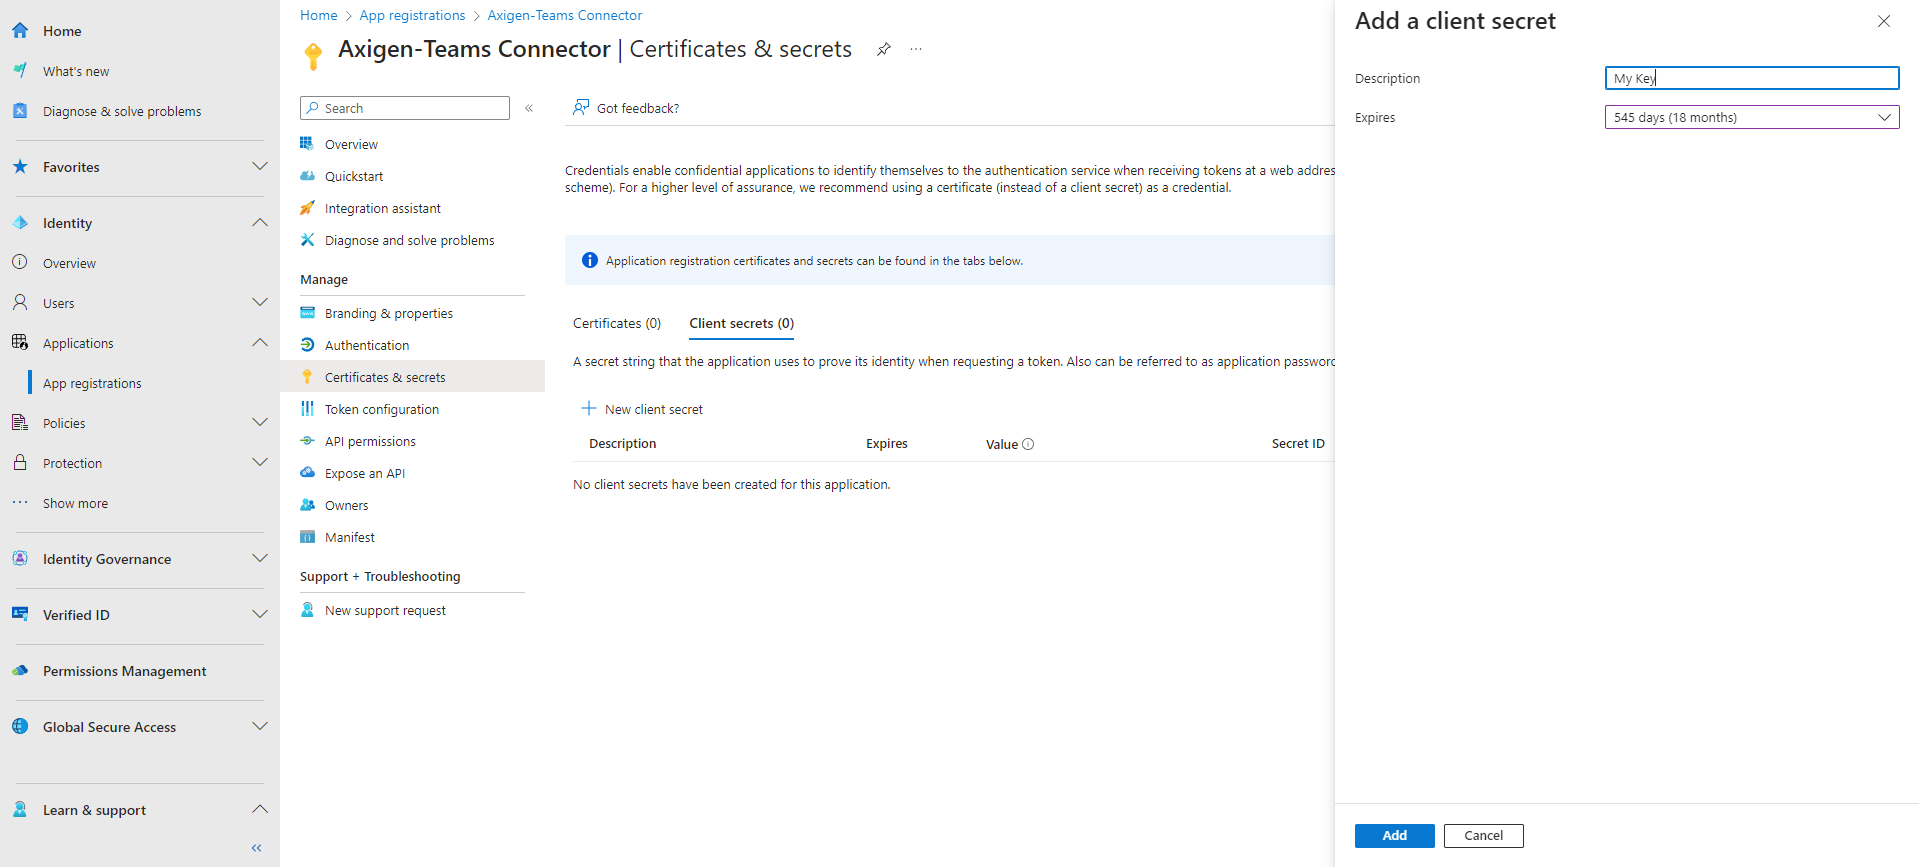
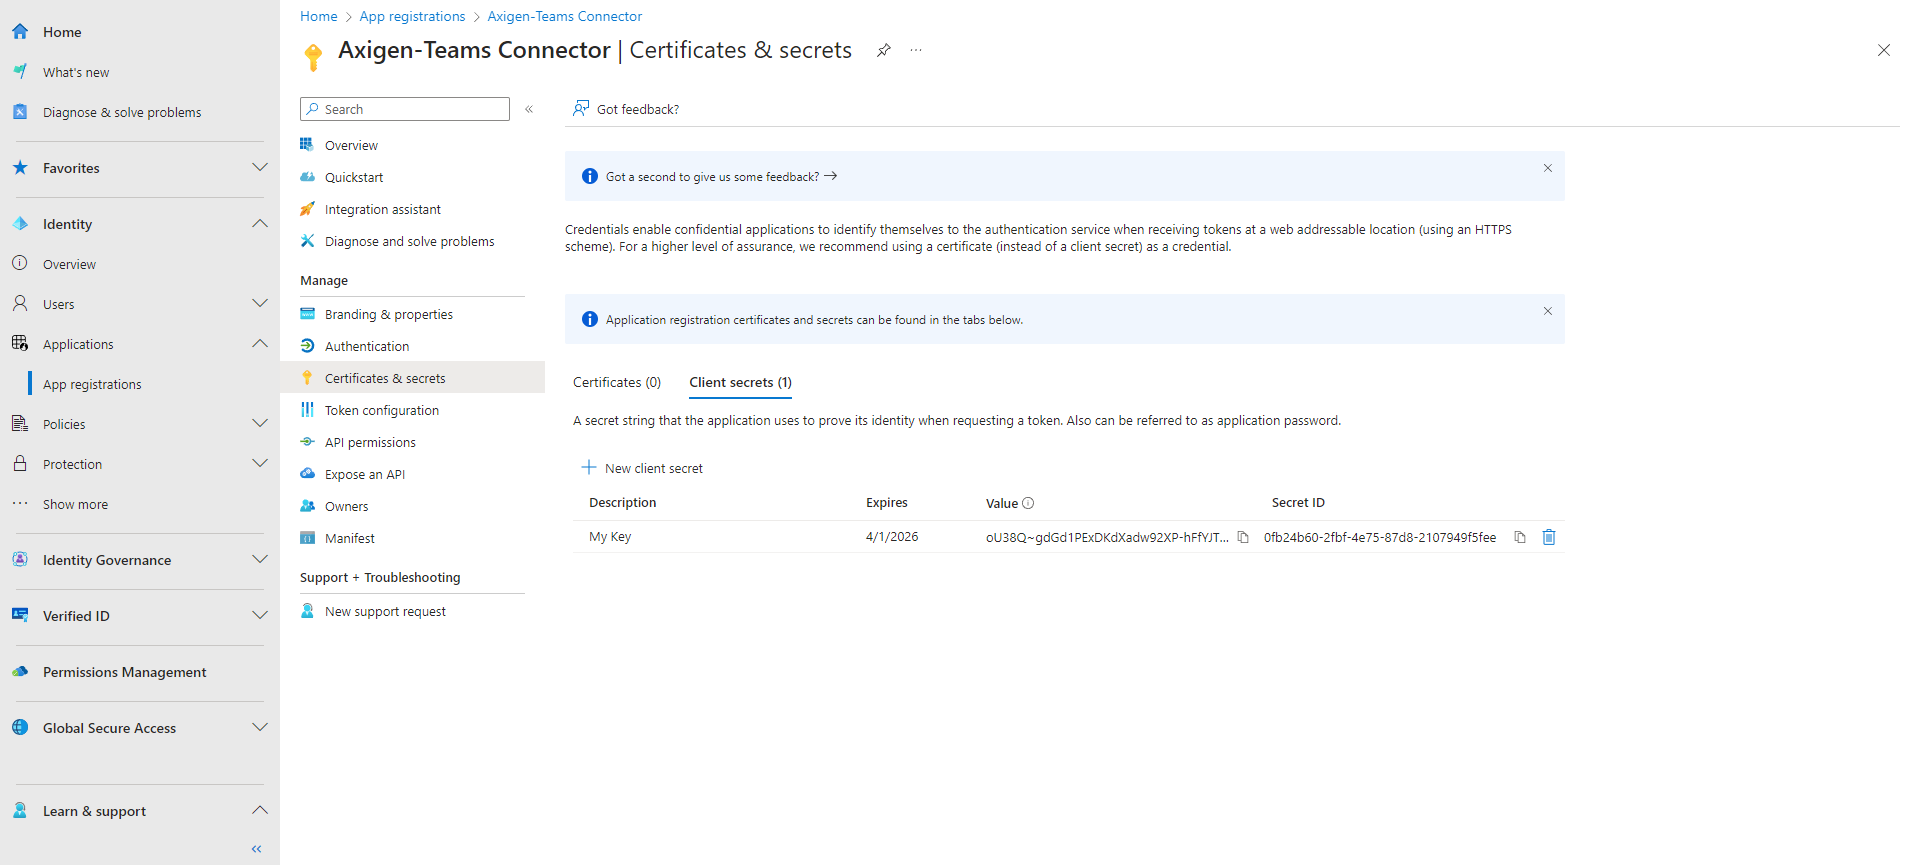
The client secret is only visible when creating the key, then it will become hidden. So save the password in a safe place.

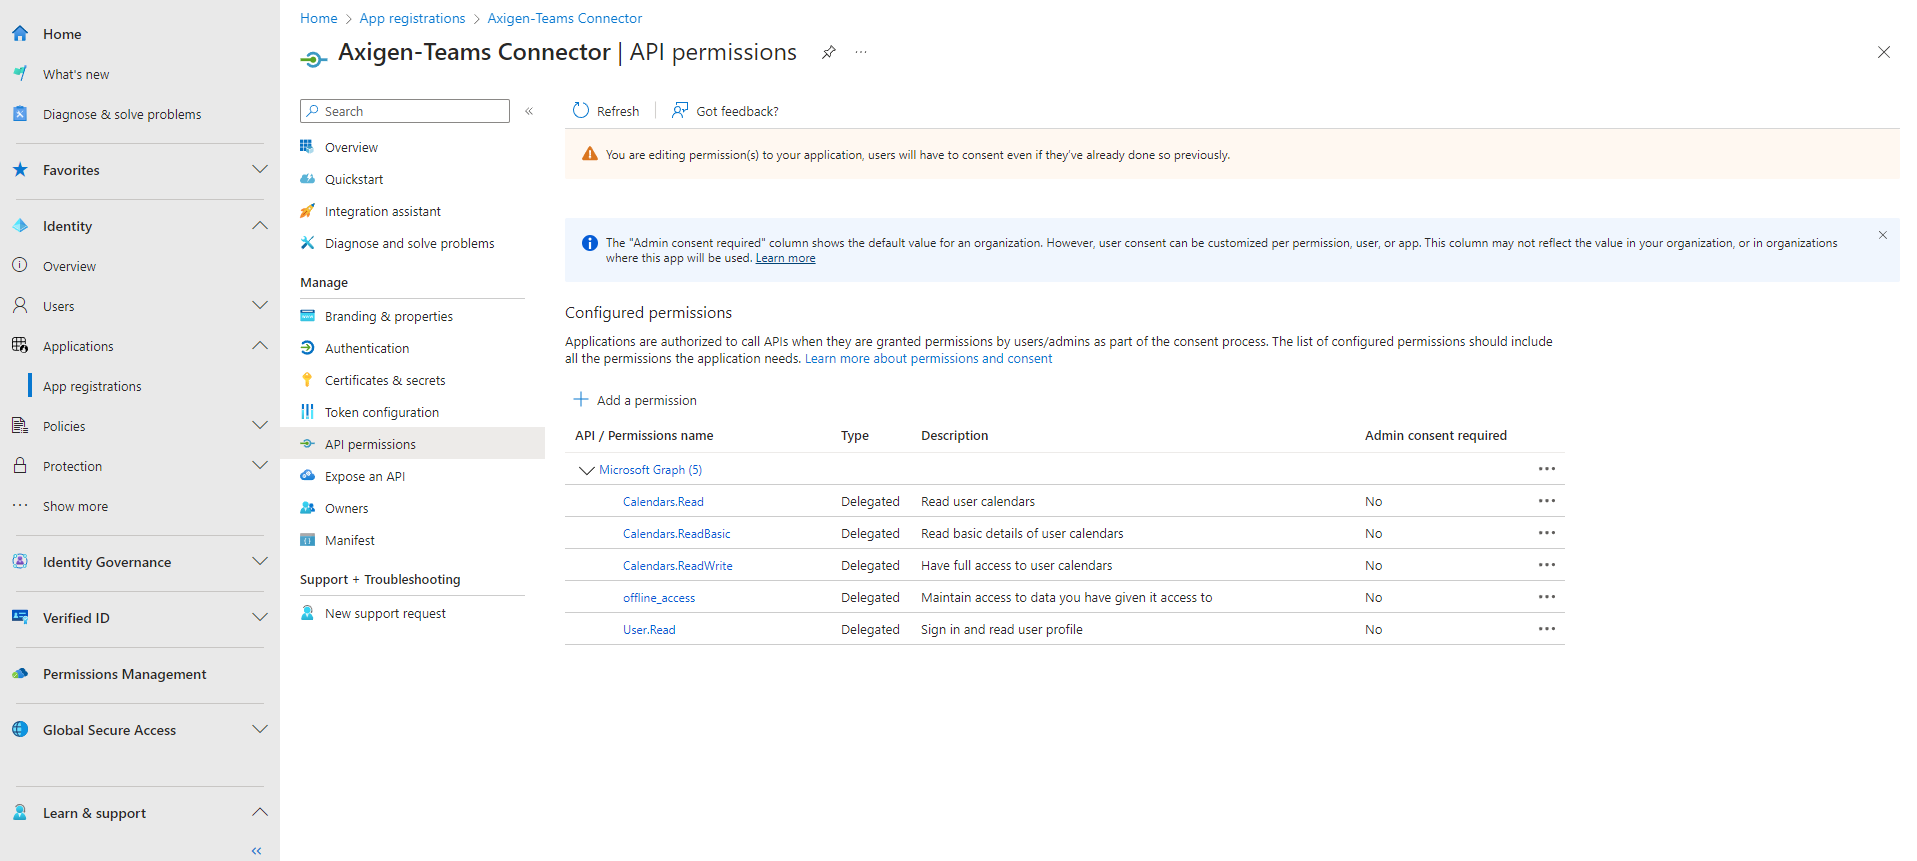
In order for Teams to access the account, some permissions are needed. The User.Read is there by default, but additional permissions are required.
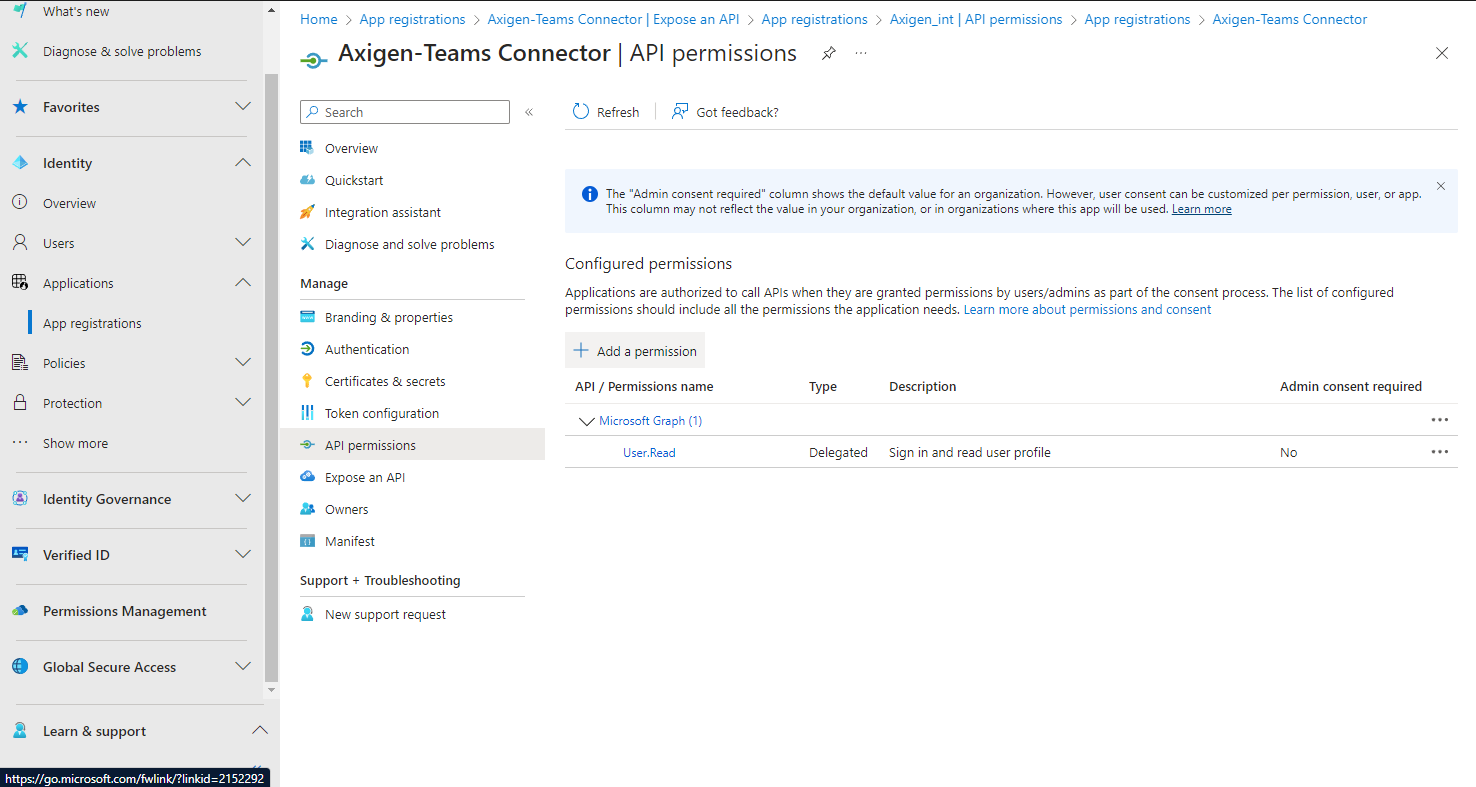
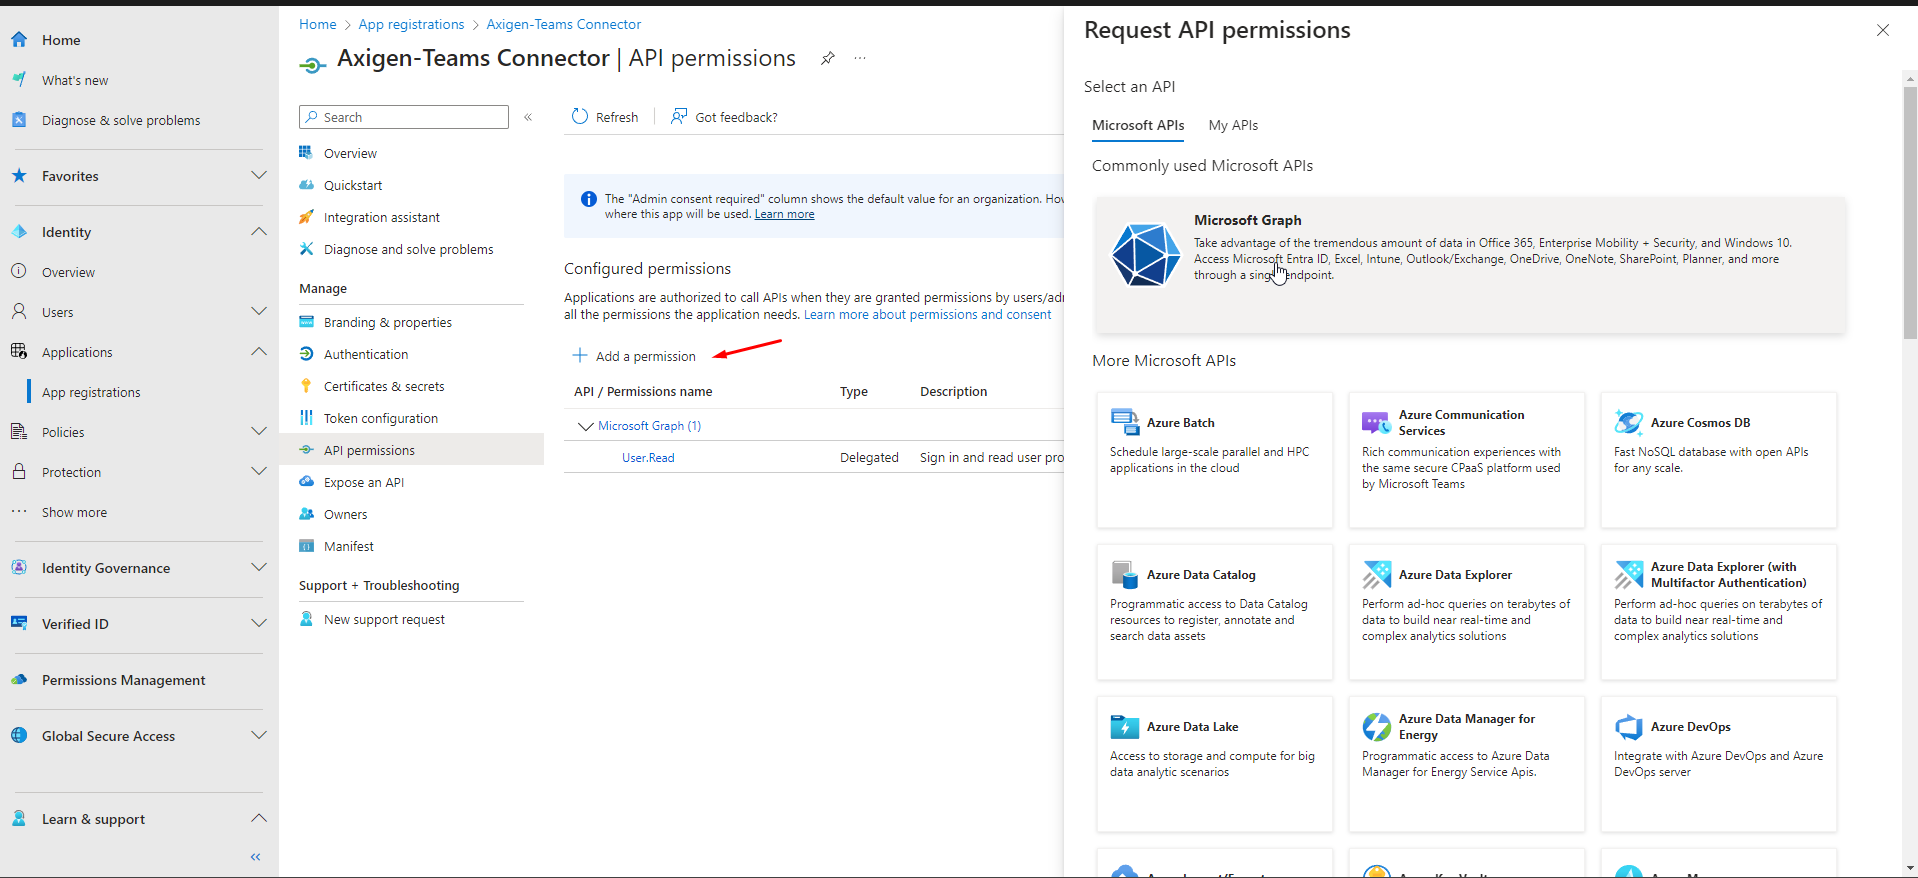
1.5. Click the Add permissions button
The permissions are:
-
Calendars.Read -
Calendars.ReadBasic -
Calendar.ReadWrite -
offline_access -
User.Read(the default one)
You may simply search for the permissions and then check the ones you need.
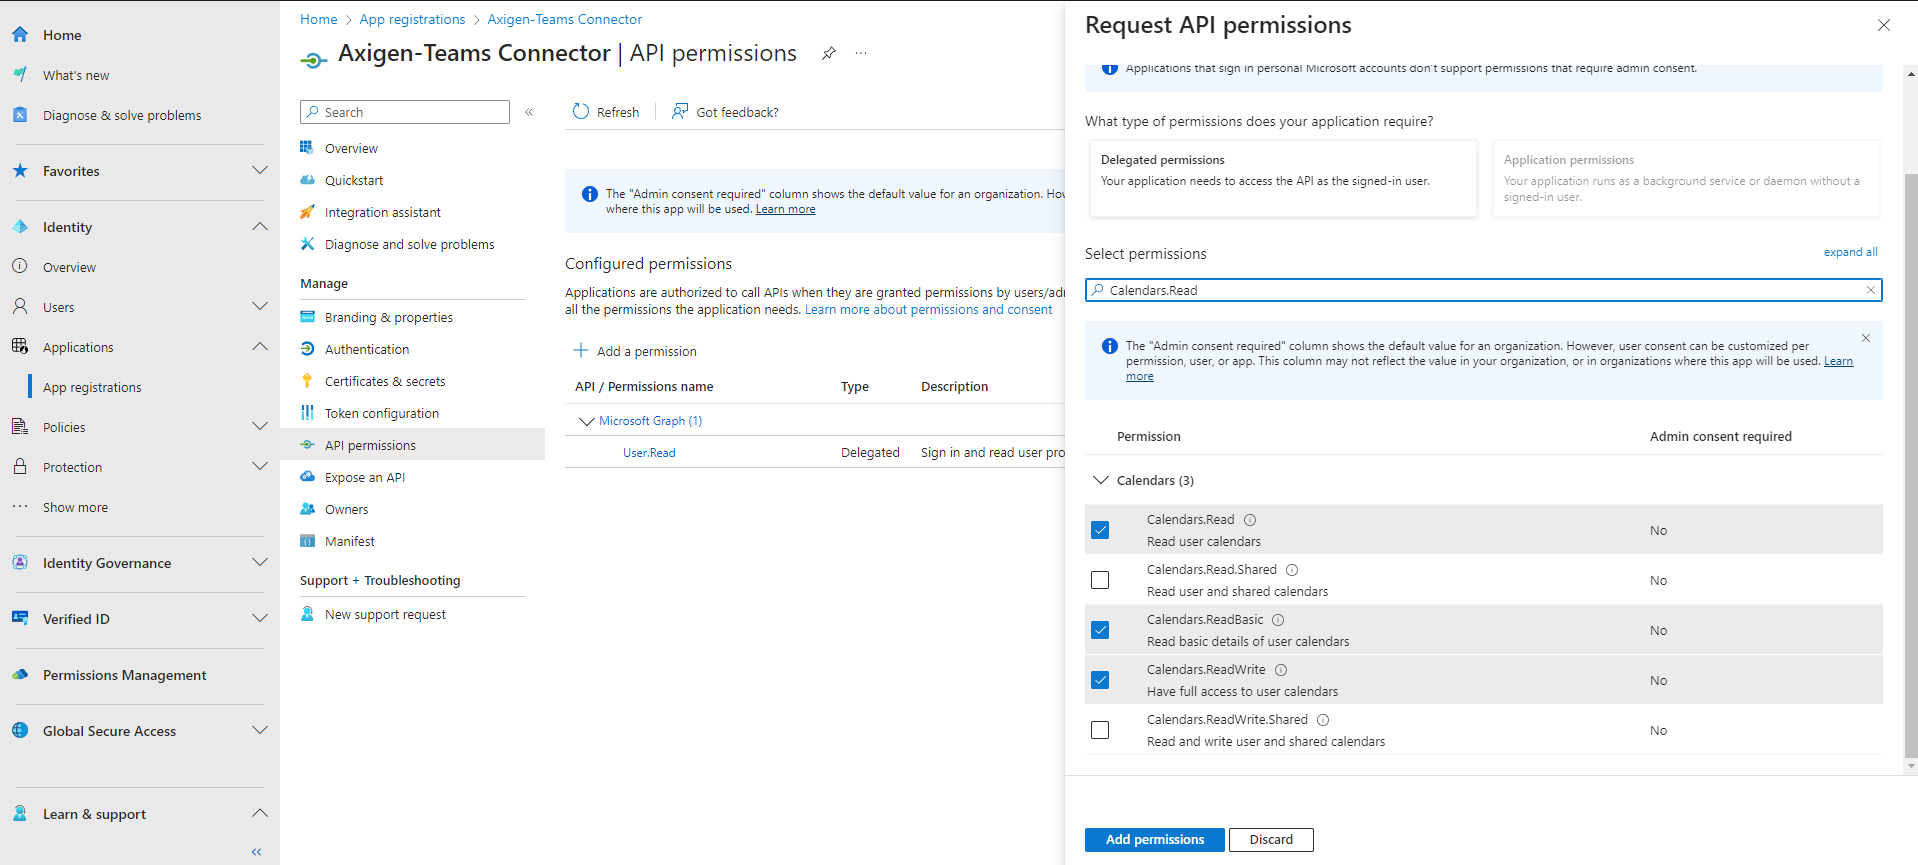

1.7. Click Add permissions
2. Axigen Preparation: Creating the Teams Connector
The connector is defined at the server level, and at this moment, a single connector can be used per server, even though multiple connectors may be defined from the CLI interface.
Setting up the connector may be done from the CLI interface and from the WebMail interface.
The configuration template for the Teams connector is already defined using the consumers application type.
Via CLI
The parameters for authzUri, tokenUri must be configured based on the type of application created at step 1.2.
Tenant
-
set authzuri <https://login.microsoftonline.com/{tenant}/oauth2/v2.0/authorize -
set tokenUri <https://login.microsoftonline.com/{tenant}/oauth2/v2.0/token
Organizations
-
set authzuri <https://login.microsoftonline.com/organizations/oauth2/v2.0/authorize -
set tokenUri <https://login.microsoftonline.com/organizations/oauth2/v2.0/token
Common
-
set authzuri <https://login.microsoftonline.com/common/oauth2/v2.0/authorize -
set tokenUri <https://login.microsoftonline.com/common/oauth2/v2.0/token
Consumers
-
set authzuri <https://login.microsoftonline.com/consumers/oauth2/v2.0/authorize -
set tokenUri <https://login.microsoftonline.com/consumers/oauth2/v2.0/token>
While the clientScopes are always the same.
-
set clientScopes "User.Read Calendars.ReadBasic Calendars.Read Calendars.ReadWrite offline_access"
The clientId and the clientSecret are unique values and were created at the previous step:
-
set clientId <teamsClientID>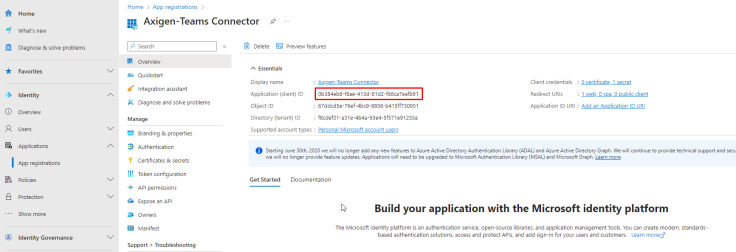
-
set clientSecret <YourActualClientSecretReceivedFromMicrosoft>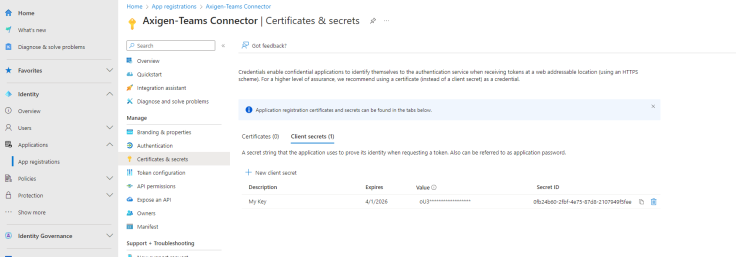
As explained above, the password is visible at creation only.
Via WebAdmin
Since the Teams connector is already defined for the consumers application type, the only parameters left are the clientId and the clientSecret.
The parameters for authzUri, tokenUri must be configured based on the type of application created at step 1.2, while the clientScopes are always the same.
Navigate to the WebAdmin interface → Services -> WebMail → Extensions tab

At this point, the Teams connector is not enabled. Edit the connector, type in the clientId and the clientSecret, and save the connector.

Enable the connector and save the configuration.

Allowing the Teams Connector to Be Used
The Teams connector is defined at the server level, however, this functionality must also be enabled as . Depending on the preferences, this can be enabled at the domain level, account level, or account class.
In this example, I will enable it at the domain level.
Navigate to the WebAdmin interface → Domains & Accounts → Manage domains → select the domain → Account defaults → Quotas and Restrictions → scroll down to the External Apps section.

Now, the users in the domain “test.tld” are able to use the connector.
3. End-user Settings
3.1. Log into the WebMail interface
3.2. Navigate to Settings
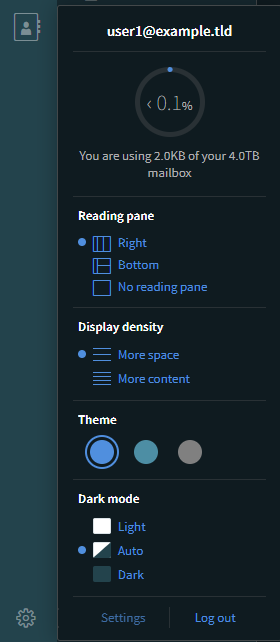
3.3. Go to the Extensions tab
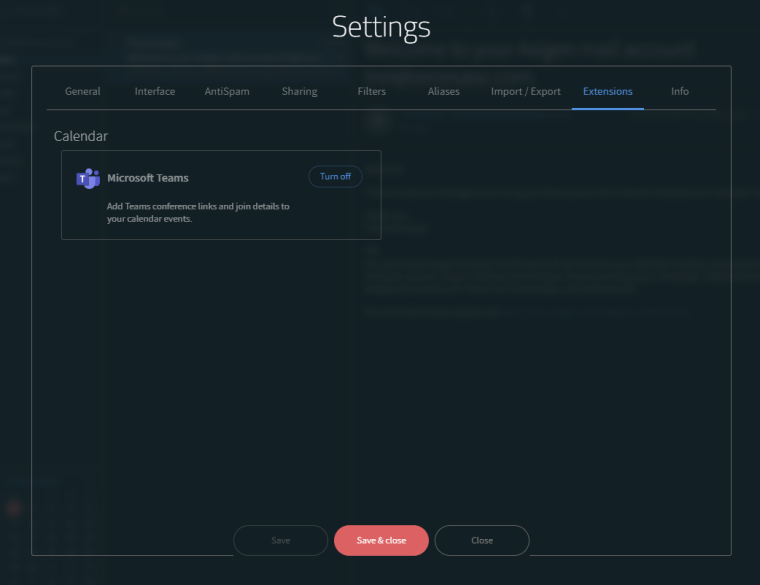
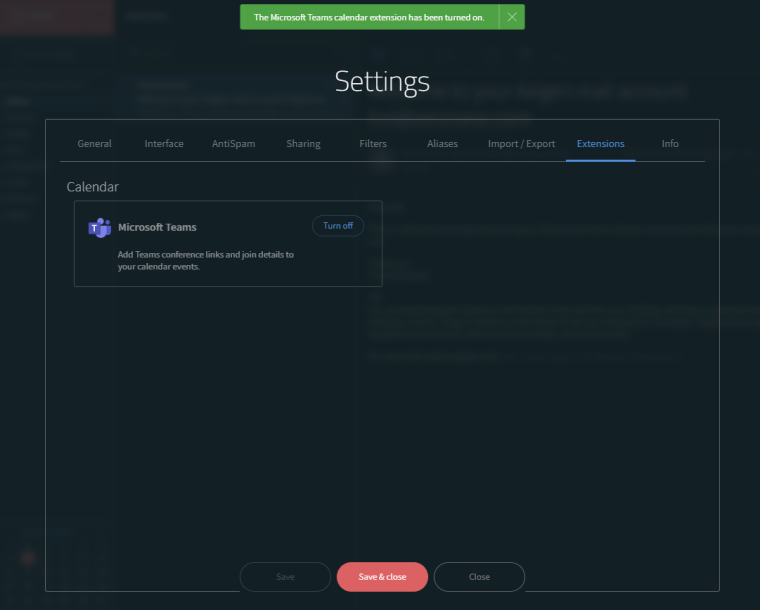
3.4. Turn on Microsoft Teams — a Microsoft login page will open
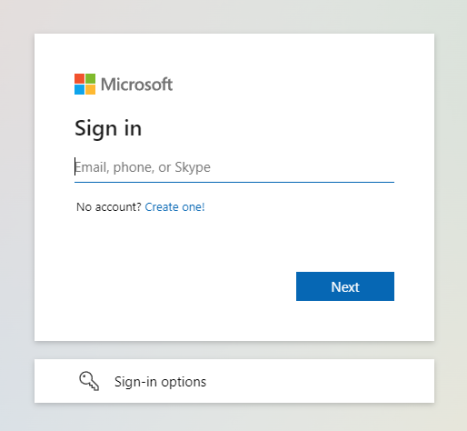
In case the Microsoft login page does not appear, it means you are already logged in.
3.5. Login using your Microsoft Account
3.6. A new window will pop up, where the Microsoft application is asking for permissions to be granted to access the user’s calendar. This pop-up will only appear once.

Use Case Examples
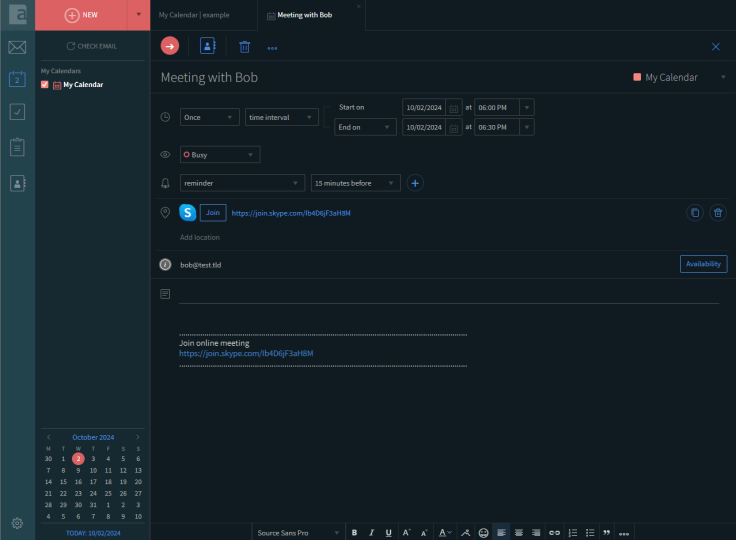
Event Creation
-
Create a calendar event from the WebMail interface
-
Create the Teams invite by clicking Add Teams
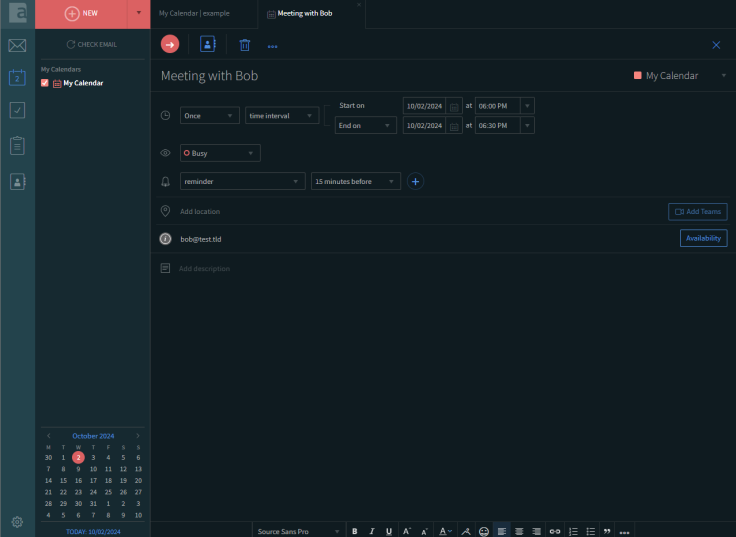
-
The invite has been created
-
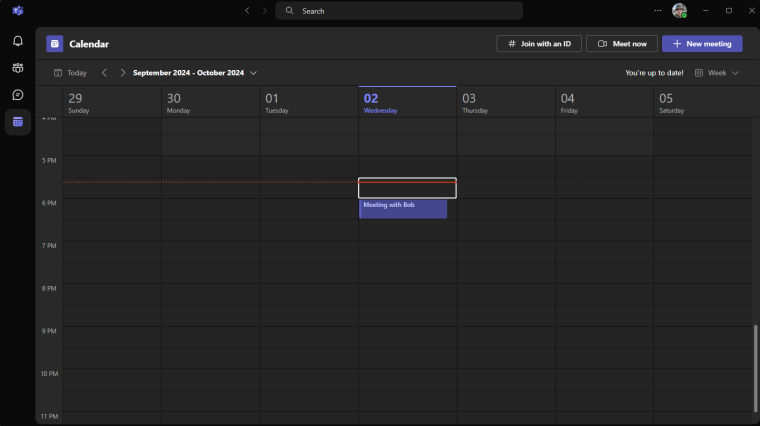
The event was also created in Teams, after saving the event in Webmail
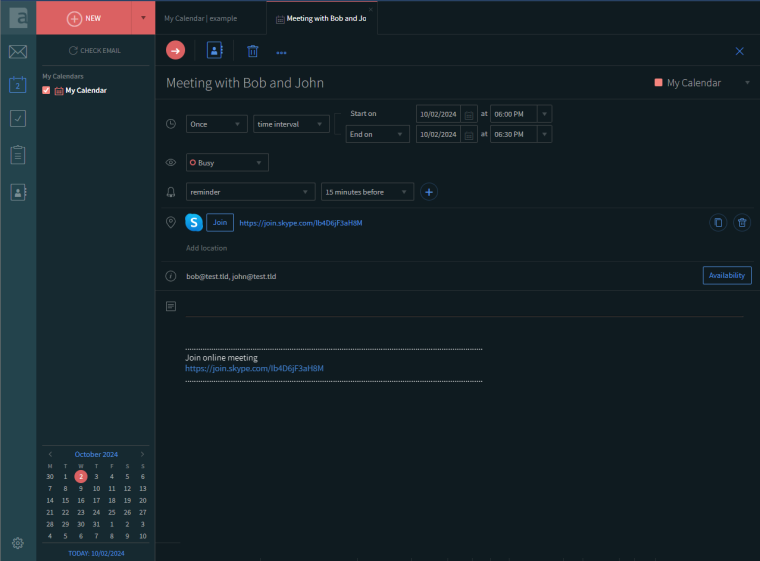
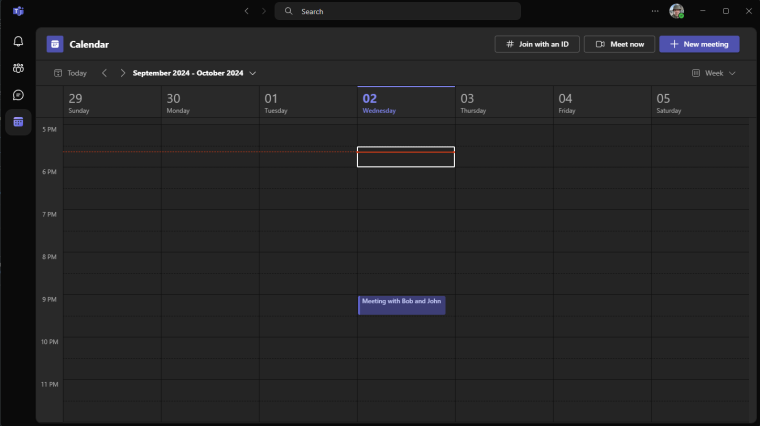
Event Update
In this example, the end-user has updated the event by changing the subject and has added another recipient.
Event Deletion
Now, cancel the event from the WebMail interface.
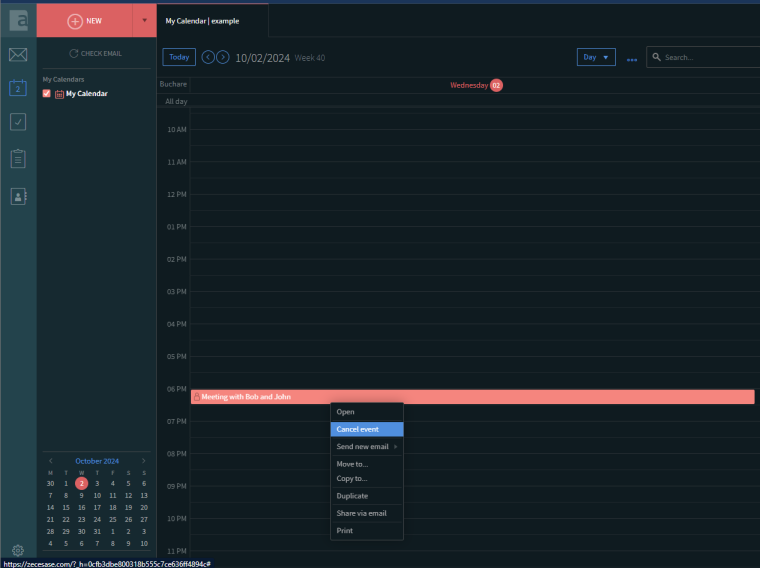
The event has been also removed from Teams.