- Hardware & Software Requirements
- DNS Prerequisites
- Installing Axigen on Linux
- Installing Axigen on Linux (Axigen X2 & X3)
- Installing Axigen on Windows
- Deploying & Running Axigen in VMware & VirtualBox
- Deploying & Running Axigen in Docker
- Performing the Initial Configuration (Onboarding)
- Starting / Stopping / Restarting Axigen
- About Axigen's Architecture
- Services and Modules
- Supported OS / Platforms and Web Clients
The "Manage Domains → Message Filters" page enables you to configure a set of rules to be applied to messages received by specific accounts, as well as to view and change any of the similar rules created by the users themselves. The page gives access to other 2 sub-pages:
-
Admin Filters – containing the parameters relative to incoming message rules and filters
-
User Filters– containing the parameters relative to incoming message rules and filters set by users in WebMail → Settings → Filters page
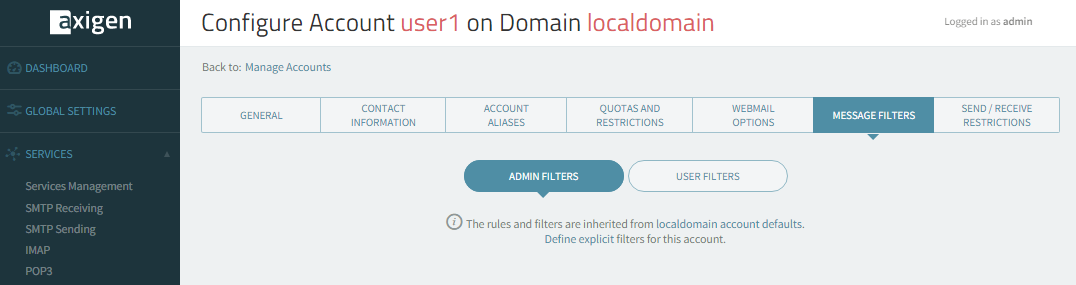
The "Message Filters → Admin Filters" sub-page enables you to configure incoming message rules and filters for specific user accounts.
-
The Rules and Filters configured in this page replace the ones inherited from account defaults.
-
For a direct access to the account defaults parameters, click on the underlined account defaults option available right under the Admin Filters sub-page name.
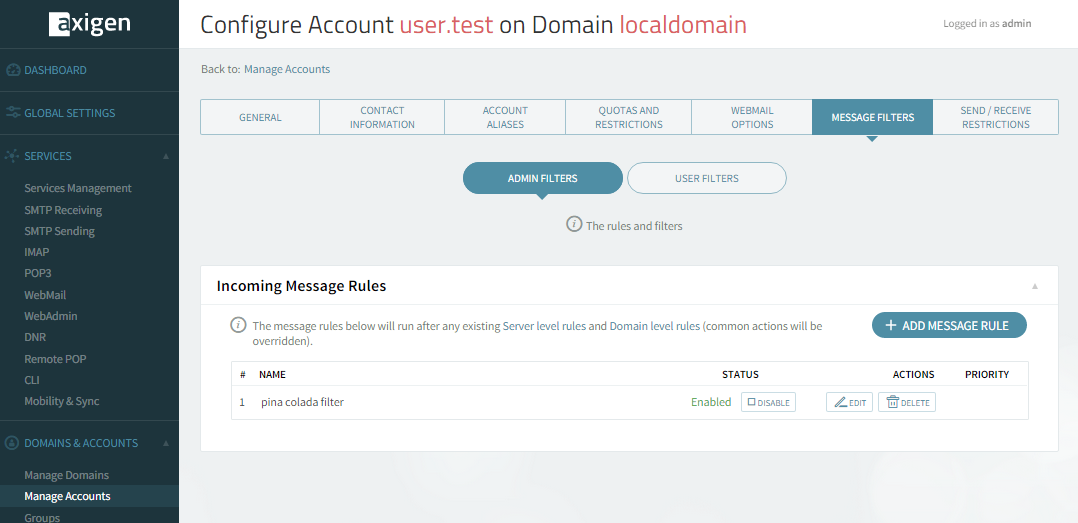
Incoming message rules
When first accessing this tab, to be able to add filters for this account, click the "Define explicit" link.
To configure a new message rule, hit the "Add Message Rule" button and then fill in the specific parameters in the new sub-page, "New Message Rule". Each message rule has an Enabled / Disabled status displayed, the action displayed by the button next to it is the opposite of the status. Each rule can be deleted or further configured using the "Delete" and "Edit" buttons.
To set the order in which defined rules should apply, use their corresponding up and down arrows available under the "Priority" section.
All message rules available in this section will run after any existing Server Level Rules and Domain Level Rules (common actions will be overridden).
General settings for the new message rule
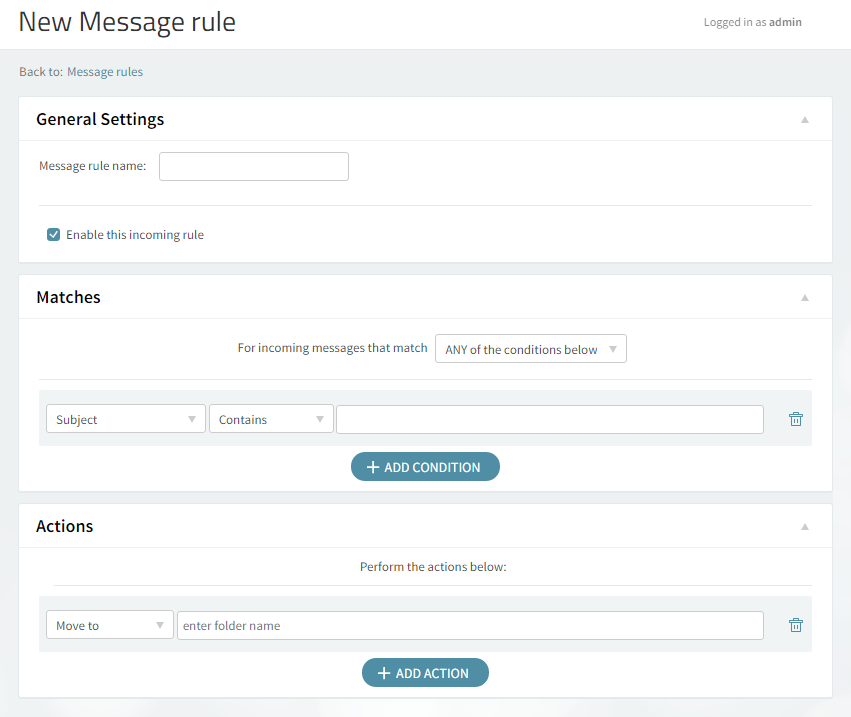
Use the text box under "General Settings" in order to specify the name of the new rule. Enable the new rule by checking the box in front of the option called "Enable this incoming rule".
New message rule conditions
In the "Matches" section, first decide the incoming messages for which you want the rule to apply. Next, choose the conditions you want to apply to those messages (e.g. for messages from "abc@domain.com").
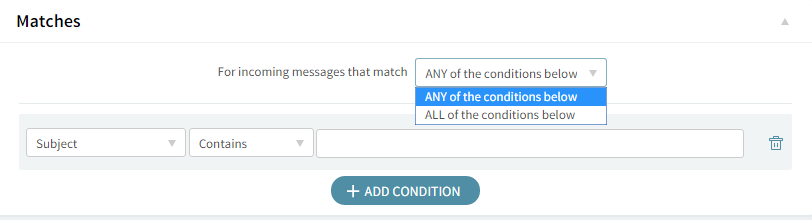
Use the drop-down menu to select the type of the new condition. Available options include setting conditions relative to the subject, sender, receiver, Cc, To or Cc, size of the email, as well as a customization option, accessible by clicking on "Custom". To delete one of the newly added criteria, hit its corresponding trash-bin shaped button.
New message rule actions
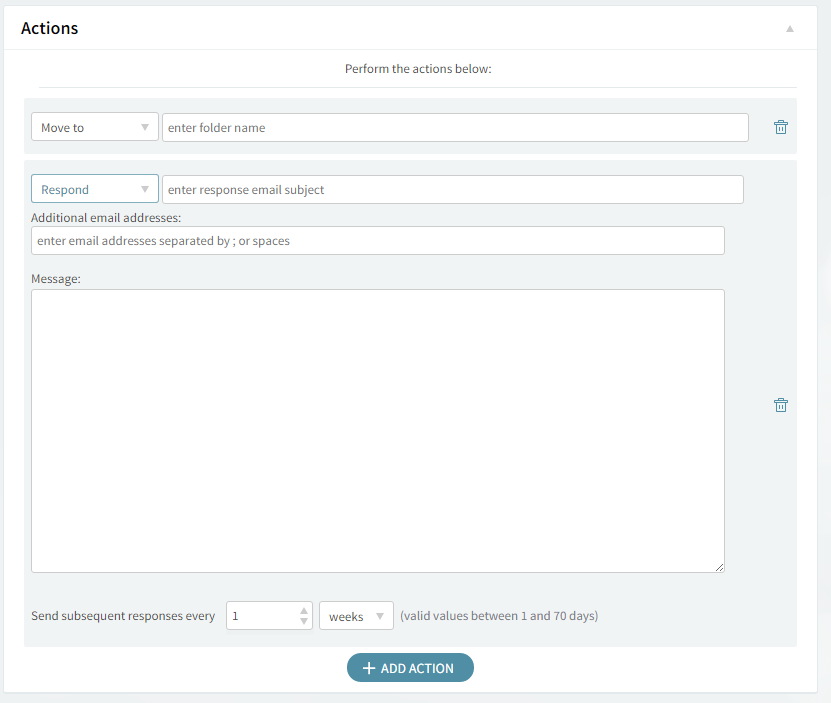
By editing the "Actions" section, you can decide what you want to do with the messages that match the above conditions. Use the drop-down menu to specify the actions corresponding to the mail message – i.e. moving, copying, deleting, or redirecting it to a certain email address.
To add a new action, click on the "Add Action" button and then fill in all the corresponding details in the newly displayed menus. To delete an action, hit the trash-bin shaped button displayed on the right hand side of the action in question.
When you are done configuring these parameters, remember to click the "Save Configuration" button to preserve your changes.
The "Message Filters → User Filters" sub-page enables you to configure incoming message rules and filters for specific user accounts.
-
The "User Filters" subcategory, in particular, gives you access to the rules defined by the user for this account using the WebMail interface.
-
Editing these rules will actually edit the user-defined filters, and the changes will be seen by the user in the WebMail interface. Access to these rules has been introduced in order to allow you to correct potential problems in user-generated rules through shared access.