- Hardware & Software Requirements
- DNS Prerequisites
- Installing Axigen on Linux
- Installing Axigen on Linux (Axigen X2 & X3)
- Installing Axigen on Windows
- Deploying & Running Axigen in VMware & VirtualBox
- Deploying & Running Axigen in Docker
- Performing the Initial Configuration (Onboarding)
- Starting / Stopping / Restarting Axigen
- About Axigen's Architecture
- Services and Modules
- Supported OS / Platforms and Web Clients
Updated: October 5, 2022
After a fresh install, Axigen needs admin users to open a browser window and connect to the Axigen WebAdmin.
On Windows installs, the browser is opened automatically.
For Linux installs, VMware images, and Docker containers, admins are asked to open the window.
Note: This Web based Initial Configuration (Onboarding) is available starting with Axigen X3.
This will take you through an Onboarding process, which will guide you through your initial configuration.
Steps to Perform Initial Axigen Configuration
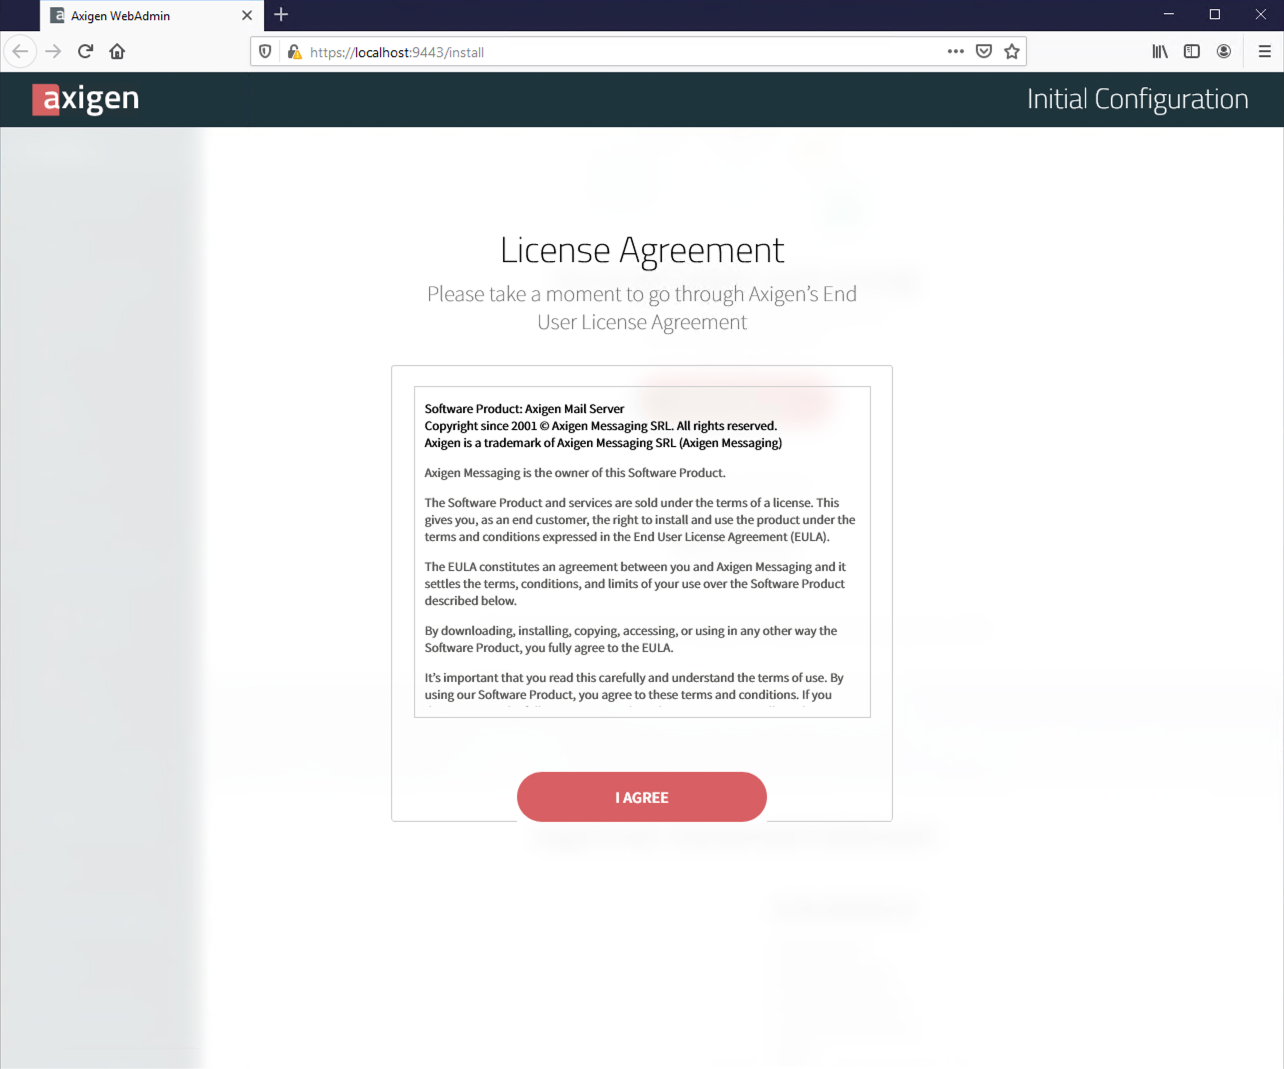
1. Read & accept the EULA
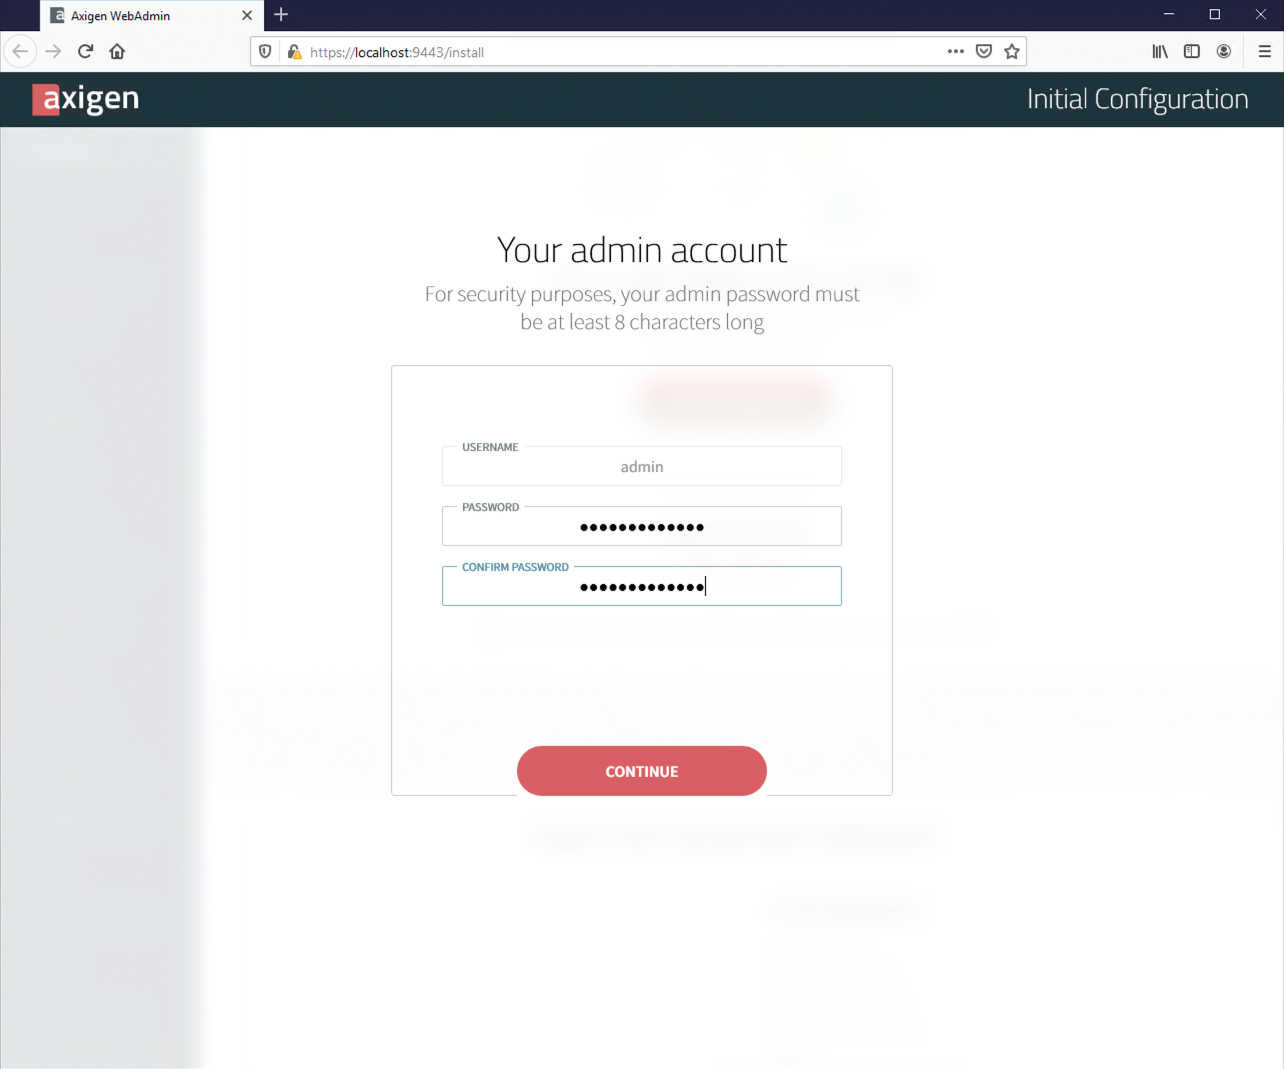
2. Set your admin password
3. Choose your license option. If you have an existing license, you can just apply it, otherwise you can request a free or trial license. In any case, the license will be applied and the server restarted, after which your onboarding process will continue.
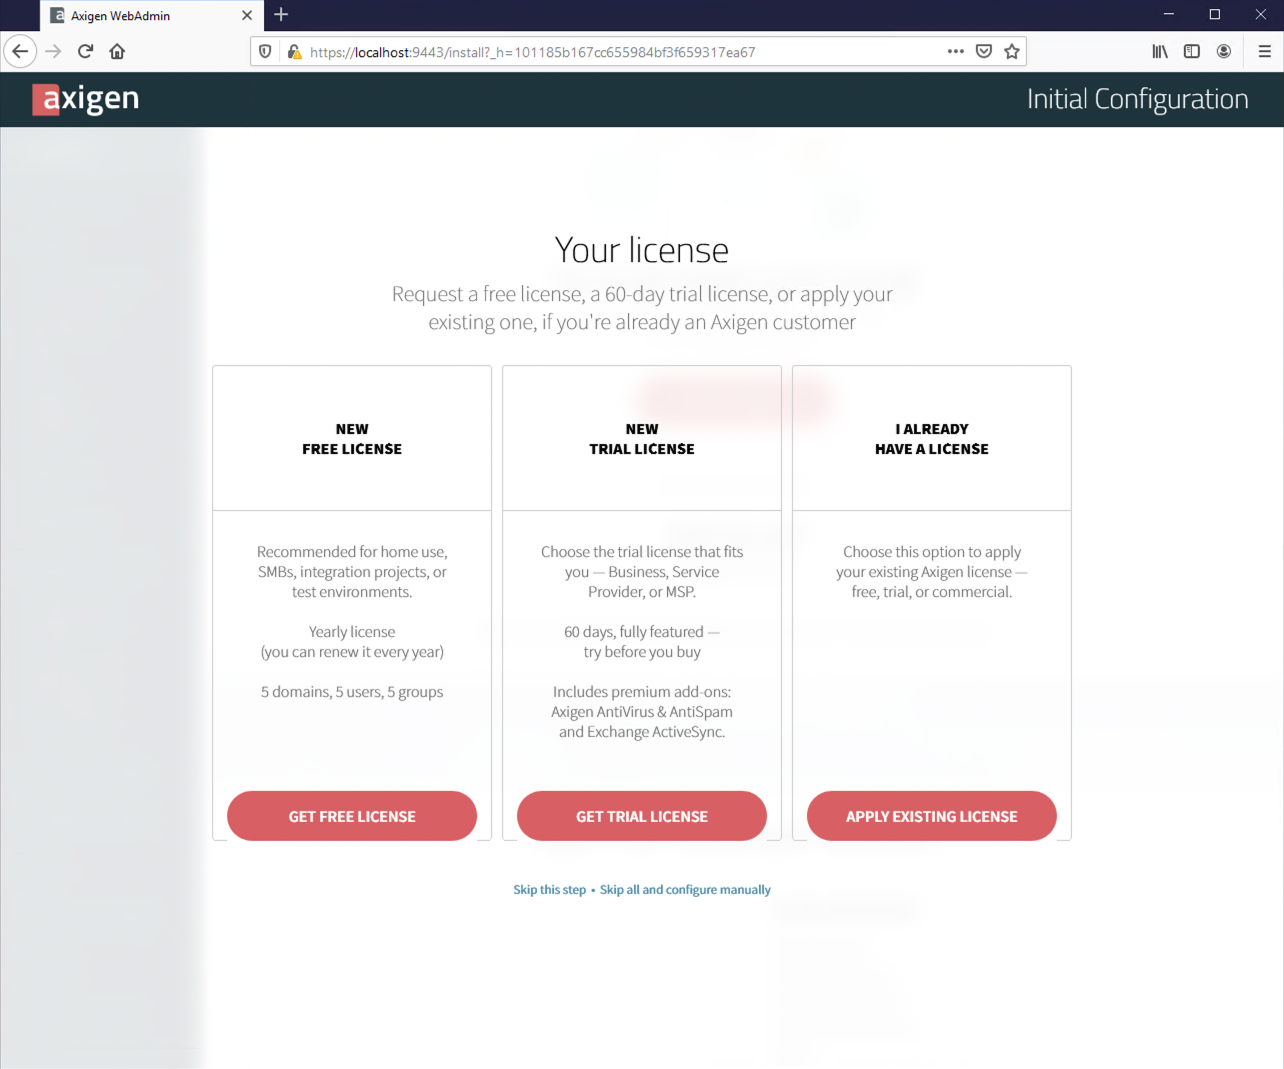
You can also skip this step — in this case, you will be able to apply your license later.
In case there's no license applied, Axigen will run in demo mode for 3 days.
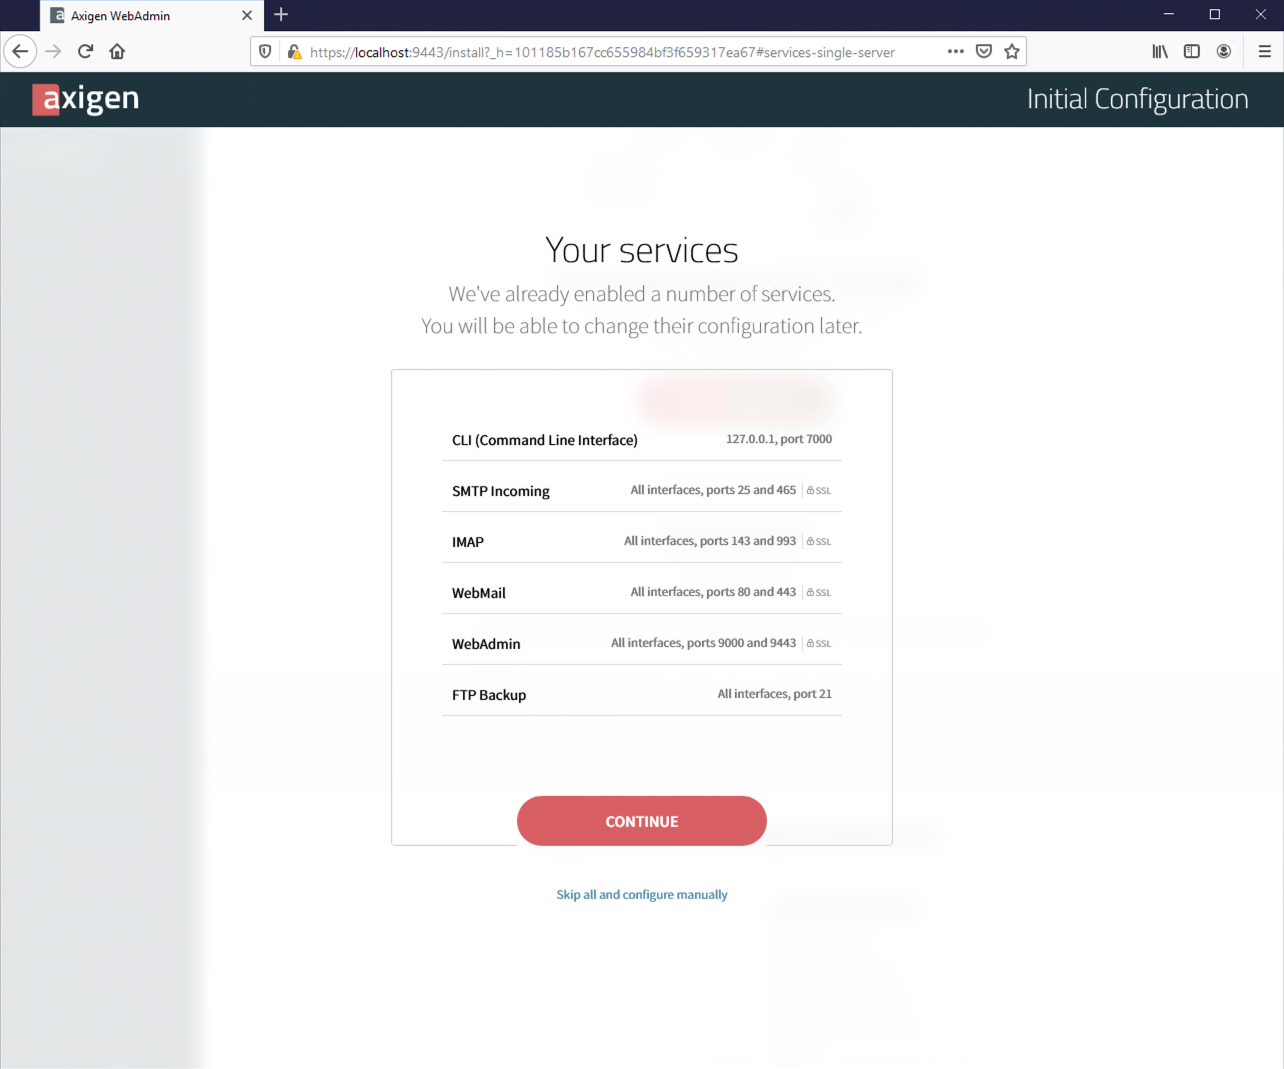
4. An initial set of services will be automatically configured
Axigen generates a self signed certificate upon install, which will be applied to some of the services to secure them by default.
This will result in SSL certificate warnings in most clients, which is why, after you complete the Initial Configuration, we highly recommend you generate or upload valid certificates.
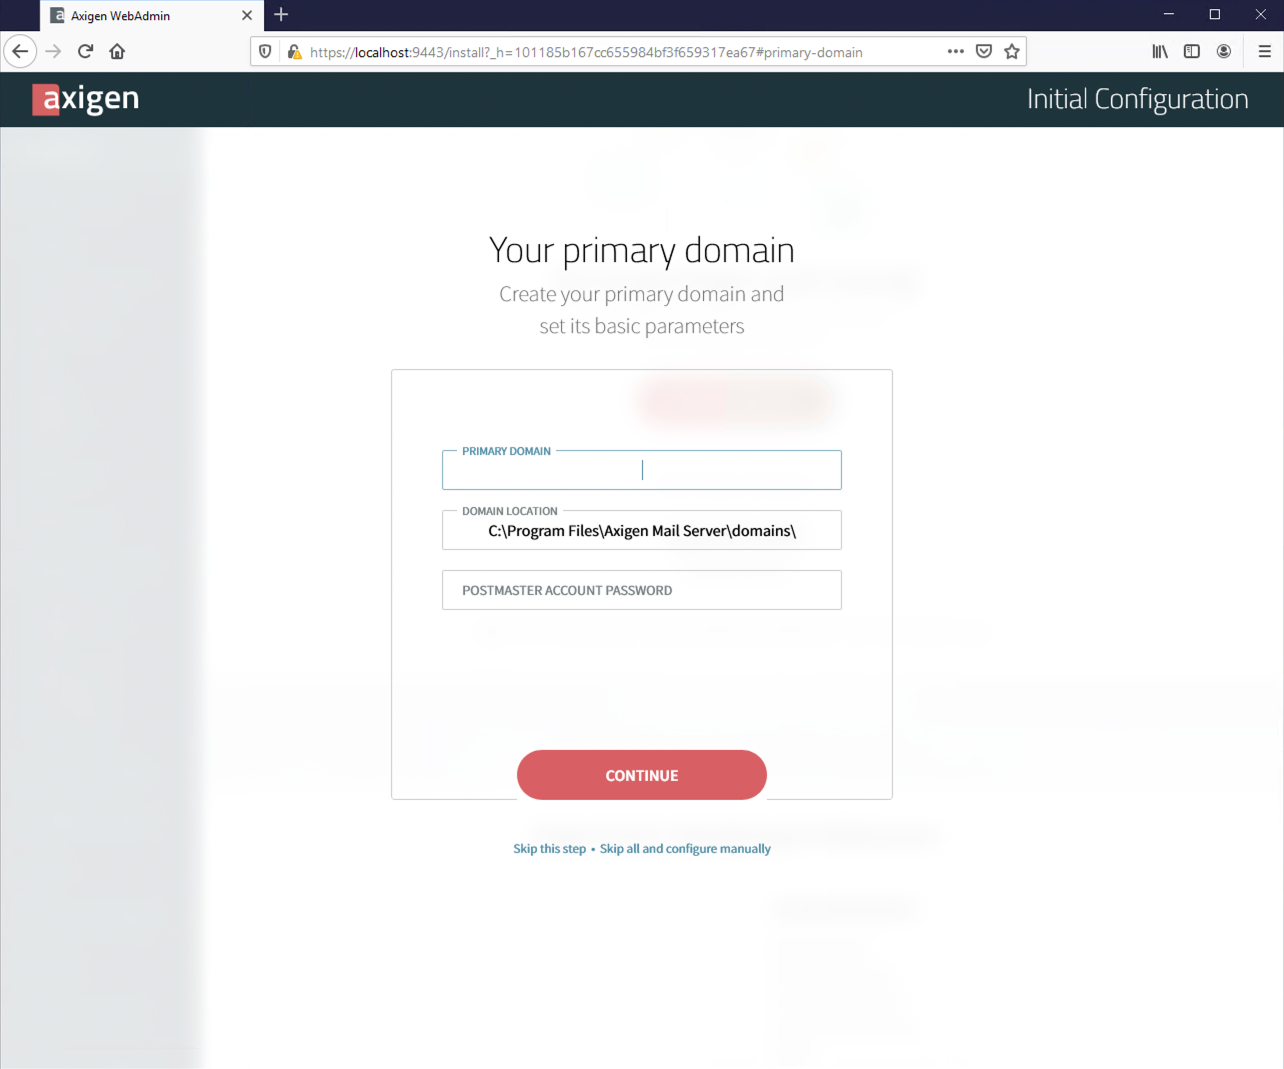
5. Add your first domain
In Axigen, users under the primary domain can also log in with their local part only (i.e. if the primary domain is example.com, the user john.doe@example.com can also login with john.doe and the corresponding password; this particularity is not applicable for the other domains).
6. Set your postmaster password. Each domain requires a postmaster account. Please set a password for your postmaster account and remember it by storing it somewhere safe. Axigen uses this email address for various system, security, and privacy alerts.
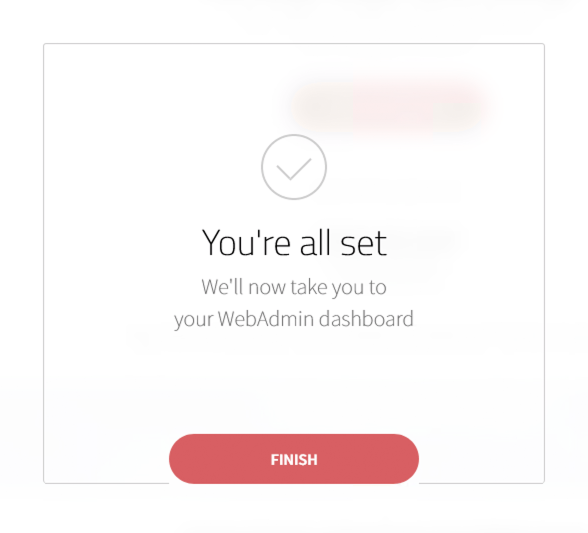
That's it — you will now be taken to your WebAdmin Dashboard.