Main menu actions
The buttons above the email list allow you to perform the most common actions for an email message.

Use the "New" button to create a new email message. The "Reply" and "Reply to All" buttons allow you to reply to a particular email message; if you select multiple messages, the action will be applied for the last selected email. When the "Reply" action is used, the new message composer windows will have the "To" field auto-completed with the original sender's address. When using the "Reply to all" action both the "To" and "Cc" fields will be auto-completed, in the message composer window, with the original sender's address and all the other recipients for that message, excluding your account.
Use the "Forward" button to send a received email to a different recipient. When the "Reply", "Reply to All" or "Forward" actions are used, the new message composer window will have the "Subject" field auto-completed with the corresponding tag ("Re" or "Fwd") and the original subject text.
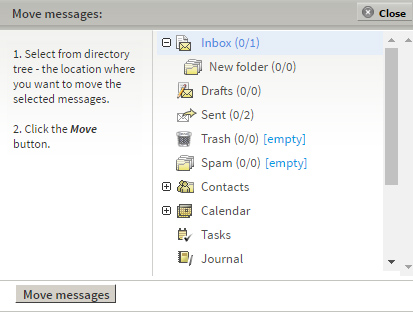
The "Move" button can be used to move an email message to a different folder. When using the "Move" or "Copy" actions, a new window will be displayed, which allows you to select the destination folder.
The "Print" button generates a window containing a printer-friendly version of the selected messages, as well as a print pop-up window.
After printing is finished or canceled, the pop-up window will be closed automatically.
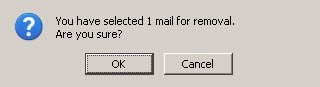
The "Delete" button allows you to delete selected messages. If the "Settings" -> "Webmail Data" -> "Preferences" section -> "Confirm delete mail option" is set to "Yes", a pop-up window will ask for your confirmation when you use the "Delete" option.
If the "Settings" -> "Webmail Data" -> "Preferences" section -> "Delete to Trash" option is set to "Yes", the email(s) will be moved in the "Trash" folder. If this option is set to "No", then the email(s) will be permanently removed.
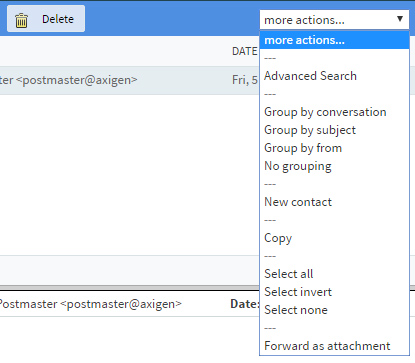
For further actions on email messages, use the "more actions..." drop down menu, which provides additional options.
Grouping messages
The "more actions..." menu allows you to group email messages by:
- conversation (the grouping is made based on "In-reply-to" header, "References" header, "Thread-Topic" header, "Message Subject" in this particular order);
- message subject (the grouping is made based on the email subject, including "Re" or "Fwd" tagged subjects);
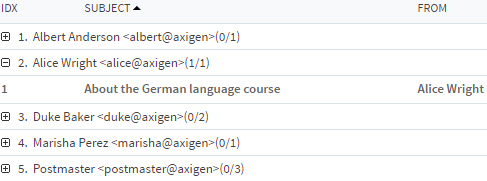
- sender (the grouping is made based on the email's "From" address).
You can remove existing grouping via the "No grouping" action.
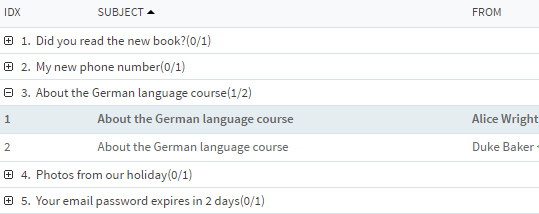
If any of the 'Group by' views are selected, the message list window will contain entries corresponding to the selected group criterion. Expand the respective group title, via the "+" button, to view the messages of that group (which match the set criterion). In each 'thread group', messages are sorted by their date / time.
Marking messages
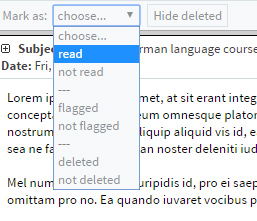
At the bottom of the email list, you can find the "Mark as" drop down box, which can be used to mark selected messages as "read" / "not read", "flagged" / "not flagged" or "deleted" / "not deleted".
Select:
- "Mark as read" to set the status of the currently selected message(s) to "Read";
- "Mark as not read" to set the status of the currently selected message(s) to "Not read";
- "Flagged" to add a flag to the currently selected message(s);
- "Not Flagged" to delete the flag for the currently selected message(s); this option is only available for previously flagged messages;
- "Deleted" to mark a message as deleted;
- "Not deleted" to remove a deleted mark from a certain email message.
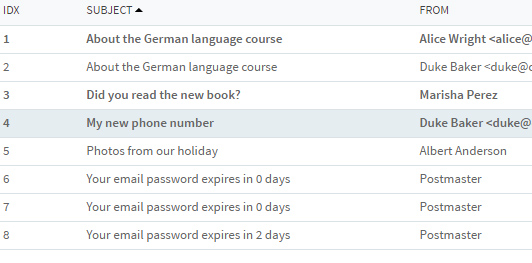
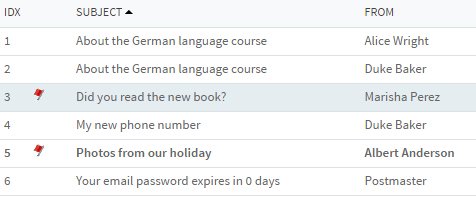
The messages marked as read are displayed in the email list with normal formatting and the "not read" messages are displayed with Bold character formatting.
Using the "Flagged" mark will add a flag icon to the respective message(s).
If you use the "Mark as deleted" option, the previously selected email(s) will be added the specific delete property, but will not be moved to the "Trash" folder (as would be the case when using the "Delete" button); the deleted messages will be displayed with a strike-through line in the email list of the same folder.

If you wish to hide the emails marked as deleted, click the "Hide deleted" button. Once the "Hide deleted" option is enabled, the "Show deleted" button will be displayed instead, in the central menu. If you wish to view the messages that you previously marked as deleted, click the mentioned "Show deleted" button.

Answering read receipt requests
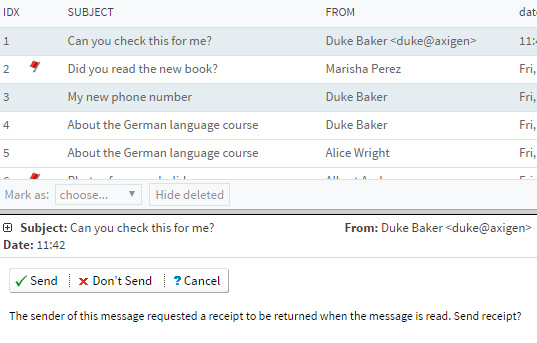
The Standard WebMail interface allows the user to send a "Read Receipt" when reading a message that was sent with the "Request Read Receipt" option.
You can set the behavior of the application for incoming messages that have the "Request Read Receipt" header set from "Settings" -> "Webmail Data" -> "Preferences" -> "Send read receipt". This setting has the following options:
- "Always send a receipt";
- "Never send a receipt";
- "Ask".
When "Send read receipt" is set to "Ask", a pop-up will be displayed containing the text: "The sender of this message requested a receipt to be returned when the message is read. Send receipt?". The options for the user are:
- "Send" - a receipt is sent and the flag is set (so that the user will not be prompted again);
- "Don't send" - the flag is set and no receipt is sent;
- "Cancel" - no receipt is sent and the flag is not set; the user will be prompted again next time the message is opened.